How to set up a turntable and get the best sound
Make the most of your shiny new record player
The latest hi-fi, home cinema and tech news, reviews, buying advice and deals, direct to your inbox.
You are now subscribed
Your newsletter sign-up was successful
Record players are arguably the most temperamental of hi-fi components. Even the best are easily upset by inconsiderate positioning, poor adjustment or inadequate support.
Get everything right, though, and they can shine in a way that will make you wonder why we ever bothered with digital.
Most budget turntables come pre-assembled. Entry-level options such as the solid Sony PS-LX310BT require little more than plugging into the wall socket and pairing to your Bluetooth headphones. Even if there's a little more to be done than that (and no Bluetooth on board), affordable turntables (such as the Pro-Ject Primary E and Rega Planar 1) almost always come with the arm and cartridge attached and adjusted. So you should be good to go in just a few minutes.
As you move up in price, it becomes more common that a certain amount of assembly is involved. You can get the supplying dealer to do this, but if you fancy doing the set-up yourself, it isn’t too difficult.
For those keen to have a go, a decent tool-kit is a must. The bare minimum is a good set of small Allen keys, a set of precision screwdrivers, a pair of long-nose pliers, and an accurate spirit level. With these, you can set up most decks, including fitting and adjusting the tonearm and cartridge.
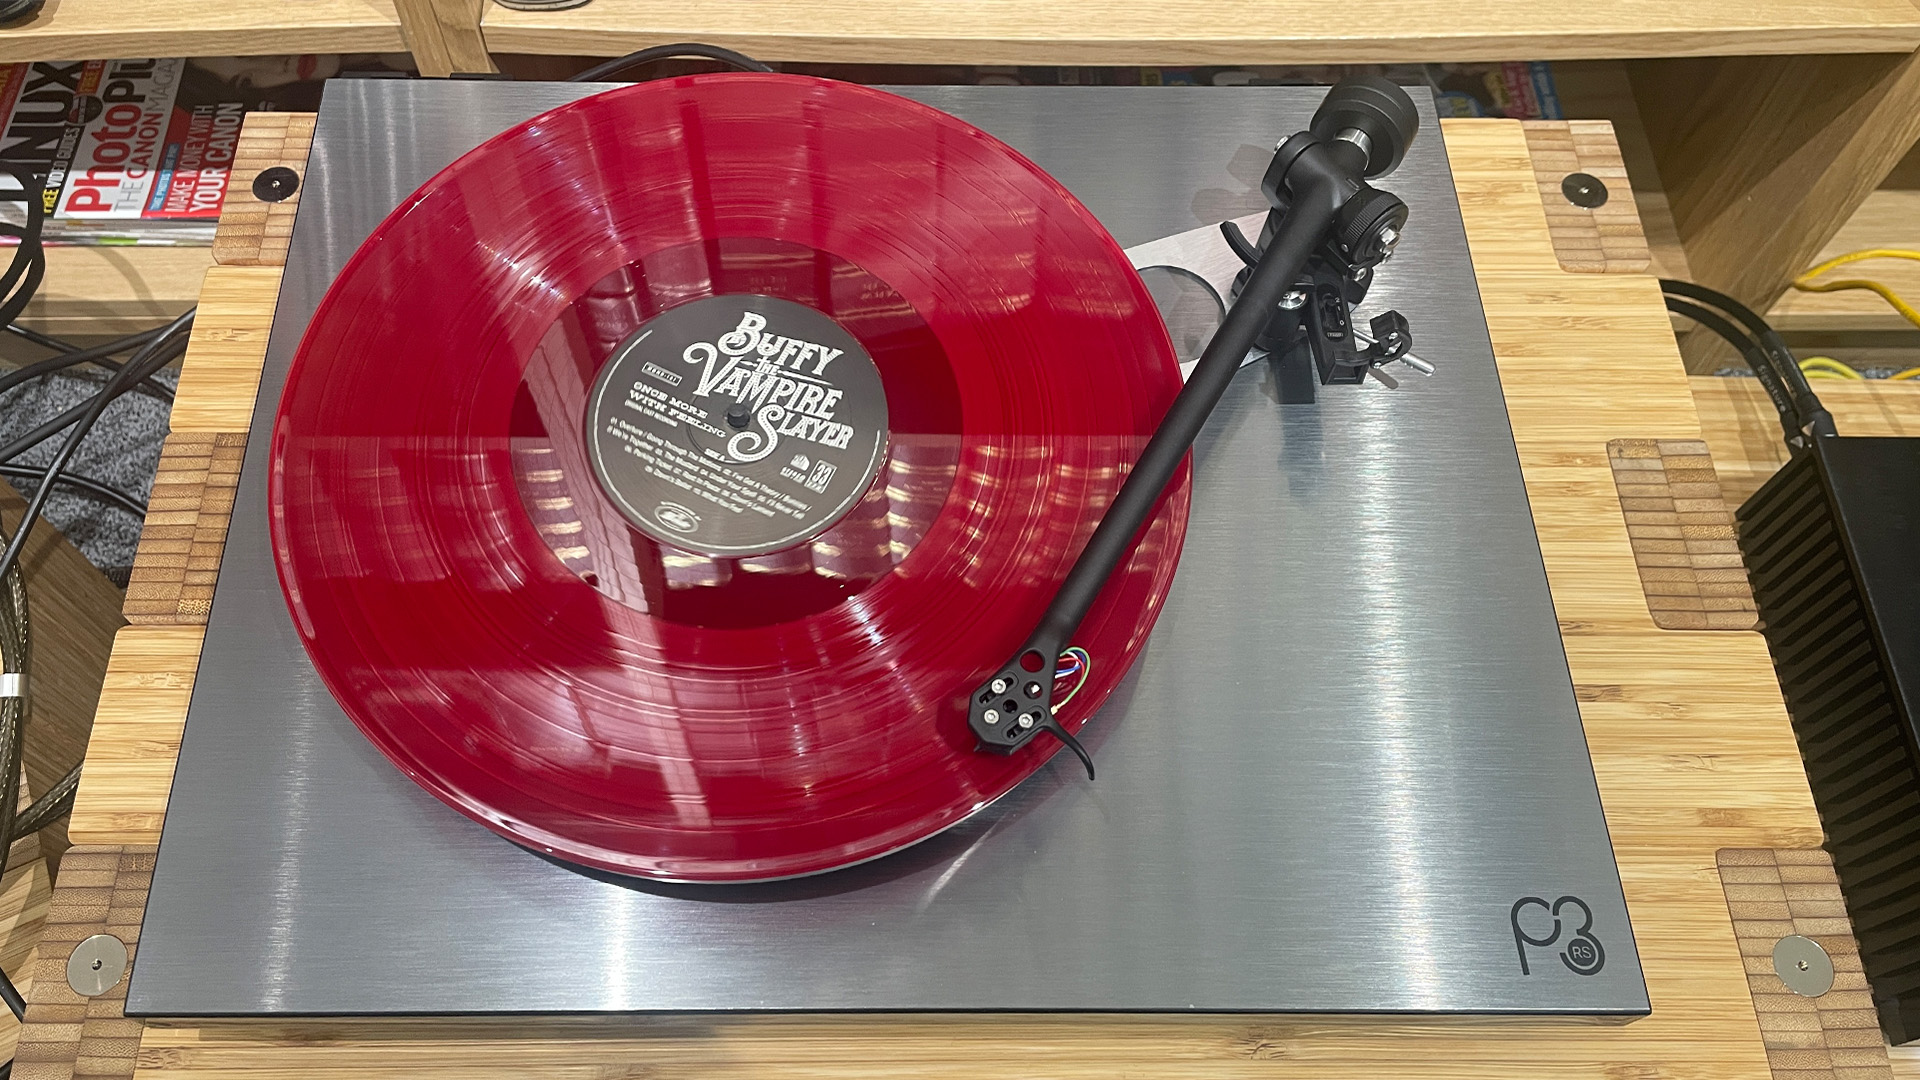
We have used a timeless turntable example for the how-to video below, the Rega RP3/Elys2 – a long-running deck that has been the recipient of multiple What Hi-Fi? Awards, with its latest iteration Planar 3/Nd3 and step-up Planar 3 RS Edition still one of our favourite decks around.
- First things first: how to choose the right turntable for you
Video guide to setting up a turntable
Positioning and choosing the right support
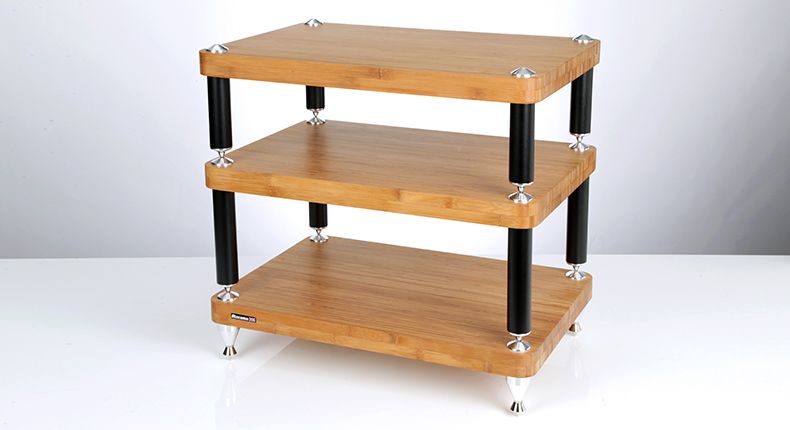
The first thing to get right is not the turntable, but the support it sits on. The ideal support is perfectly level, low resonance and positioned as far away from sources of vibration as possible. And that includes your speakers.
The latest hi-fi, home cinema and tech news, reviews, buying advice and deals, direct to your inbox.
When you realise that the tiny diamond tip of the cartridge is trying to trace bumps as small as a micron (1000th of a millimetre), you will get an idea of just how difficult the task is. Any external vibration will degrade the cartridge’s ability to track the groove accurately.
These disturbances can be caused by many different sources: the sound coming from the speakers, footfall transmitted through the floor, and even passing traffic in the street outside sending vibration energy through the structure of your house. Yes, really.
So, your hi-fi rack or support has to be absolutely level – any deviation will affect how well your record player works. The support should also be rigid and well-controlled in terms of internal resonances.
Some decks respond well when placed on heavy supports, while others prefer lighter alternatives. Much of this depends on the structural behaviour of the deck itself and can be determined only by experimenting.
- Read our hi-fi rack reviews
- See our pick of the best USB turntables: budget to premium vinyl-spinners
Level your turntable
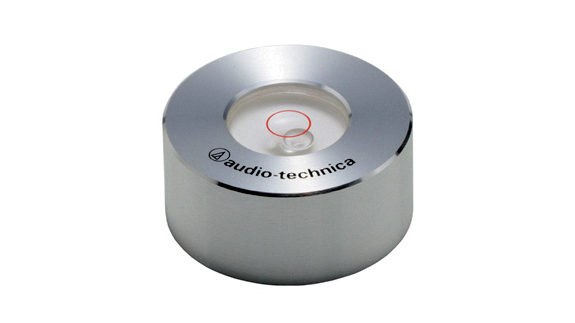
Once you have identified the ideal support for your record player, the next step is to set it up properly. This is all about getting the basics right. Everything should be level: it’s important in order to ensure the stylus tip sits properly in the record groove. Use a small, light spirit level to check.
Start with the plinth. If your support is already level – and it should be – there shouldn’t be much to do here. But if for some reason you need to make adjustments, many turntables have adjustable feet to help you get things spot-on.
Next, check the platter is level. On most record players, the platter position is fixed relative to the plinth and should be parallel to start with, unless something’s gone seriously wrong in manufacture. Suspended designs will allow a degree of adjustment.
Usually the levelling can be done in situ, but some decks require a specific jig – that means a trip to the dealer.
Tonearm adjustment
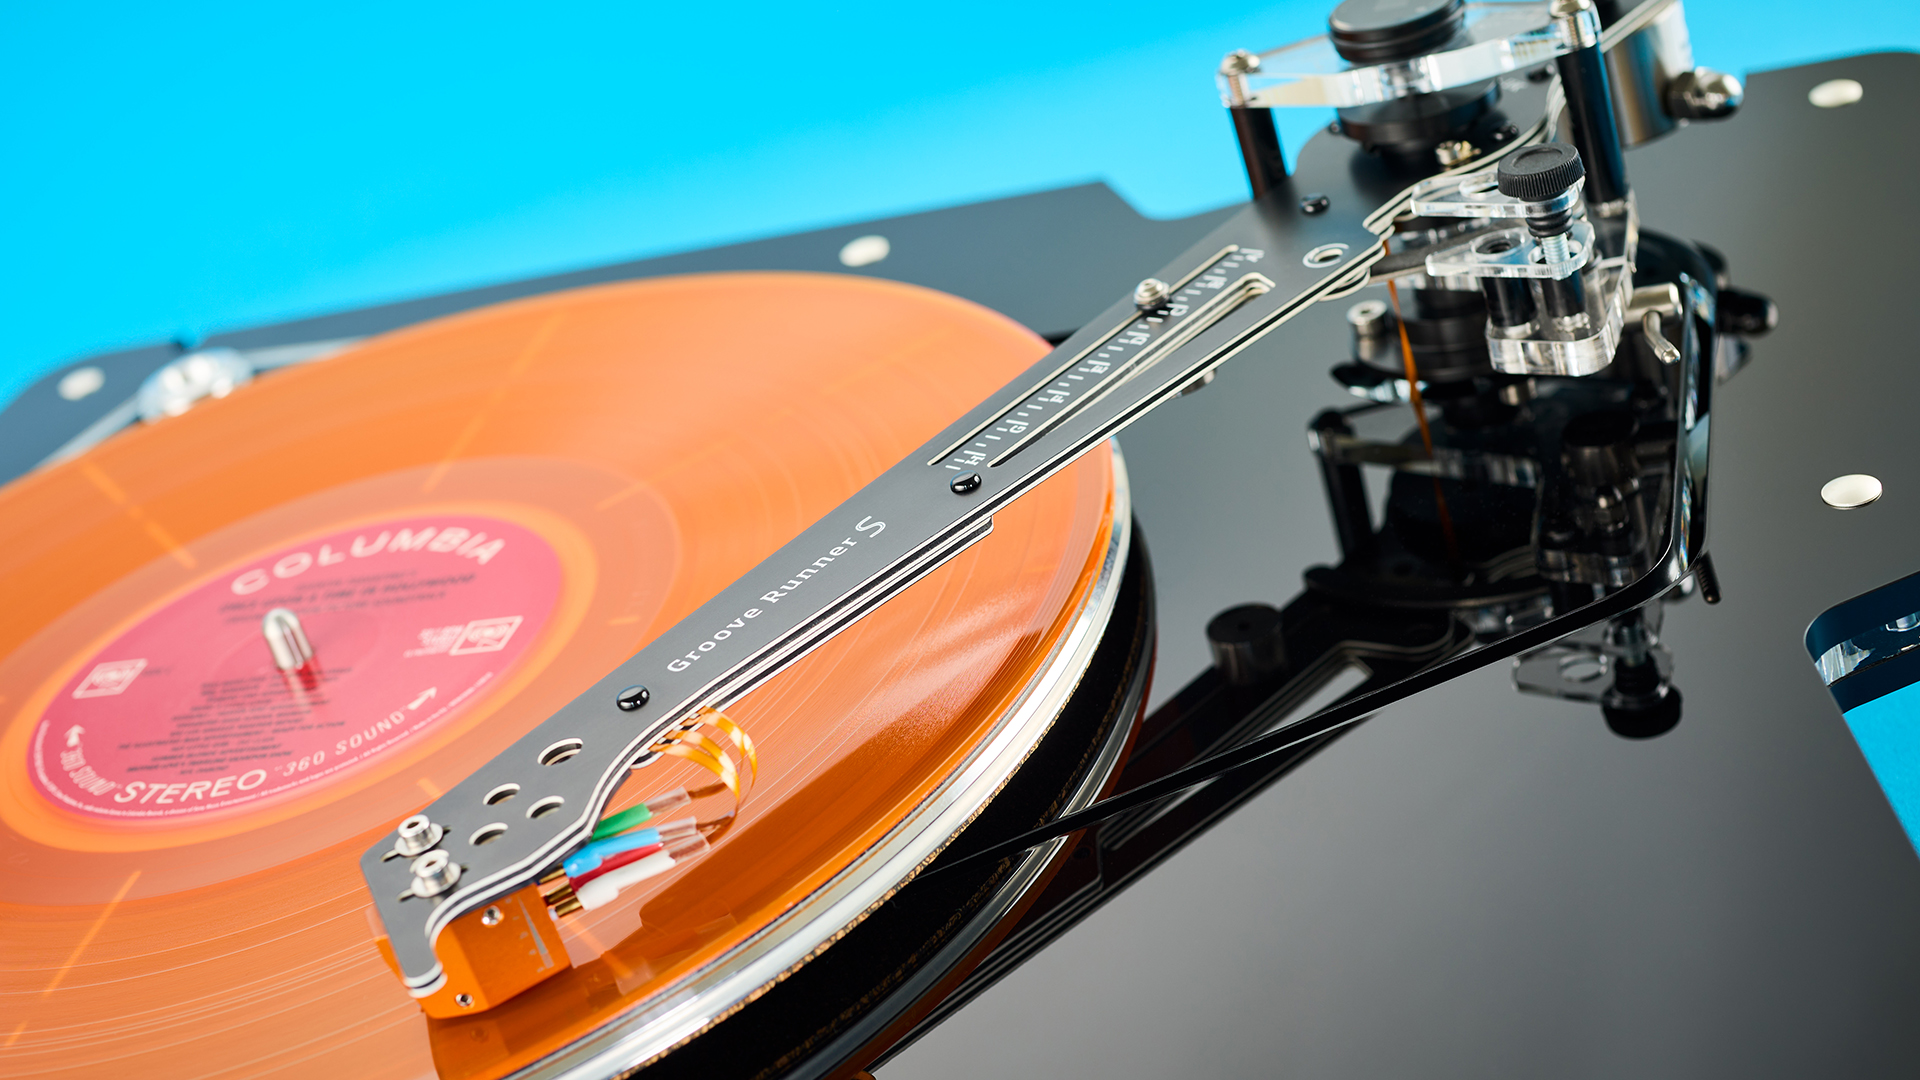
Most turntables come pre-fitted with a tonearm. If you want to change that, or have bought a more esoteric deck (such as one of our best high-end record players) that comes without an arm, you’ll need an appropriate armboard.
Turntable manufacturers should be able to supply a range of armboard options, which should suit just about any tonearm out there. In the worst case, it isn’t too difficult to machine one to fit.
There are a number of adjustments on the tonearm, and many upmarket turntables allow the user to adjust tonearm height. Its height has to be set so the arm is parallel to the record’s surface when the cartridge sits in the groove. Usually, the arm is set to be parallel with a record when playing, though sometimes a cartridge may have a particular preference depending on its design.
It’s possible to fine-tune performance by altering this so the arm bearing is a little higher or lower. This alters the angle at which the stylus tip meets the groove – but we would start with it level.
Generally speaking, if the arm is too high you will get a bright, forward sound – and the opposite if the arm is too low.
It’s worth ensuring the tonearm lead isn’t stressed, and is positioned away from anything that runs on mains voltage. This will prevent excessive hum.
Cartridge fitting
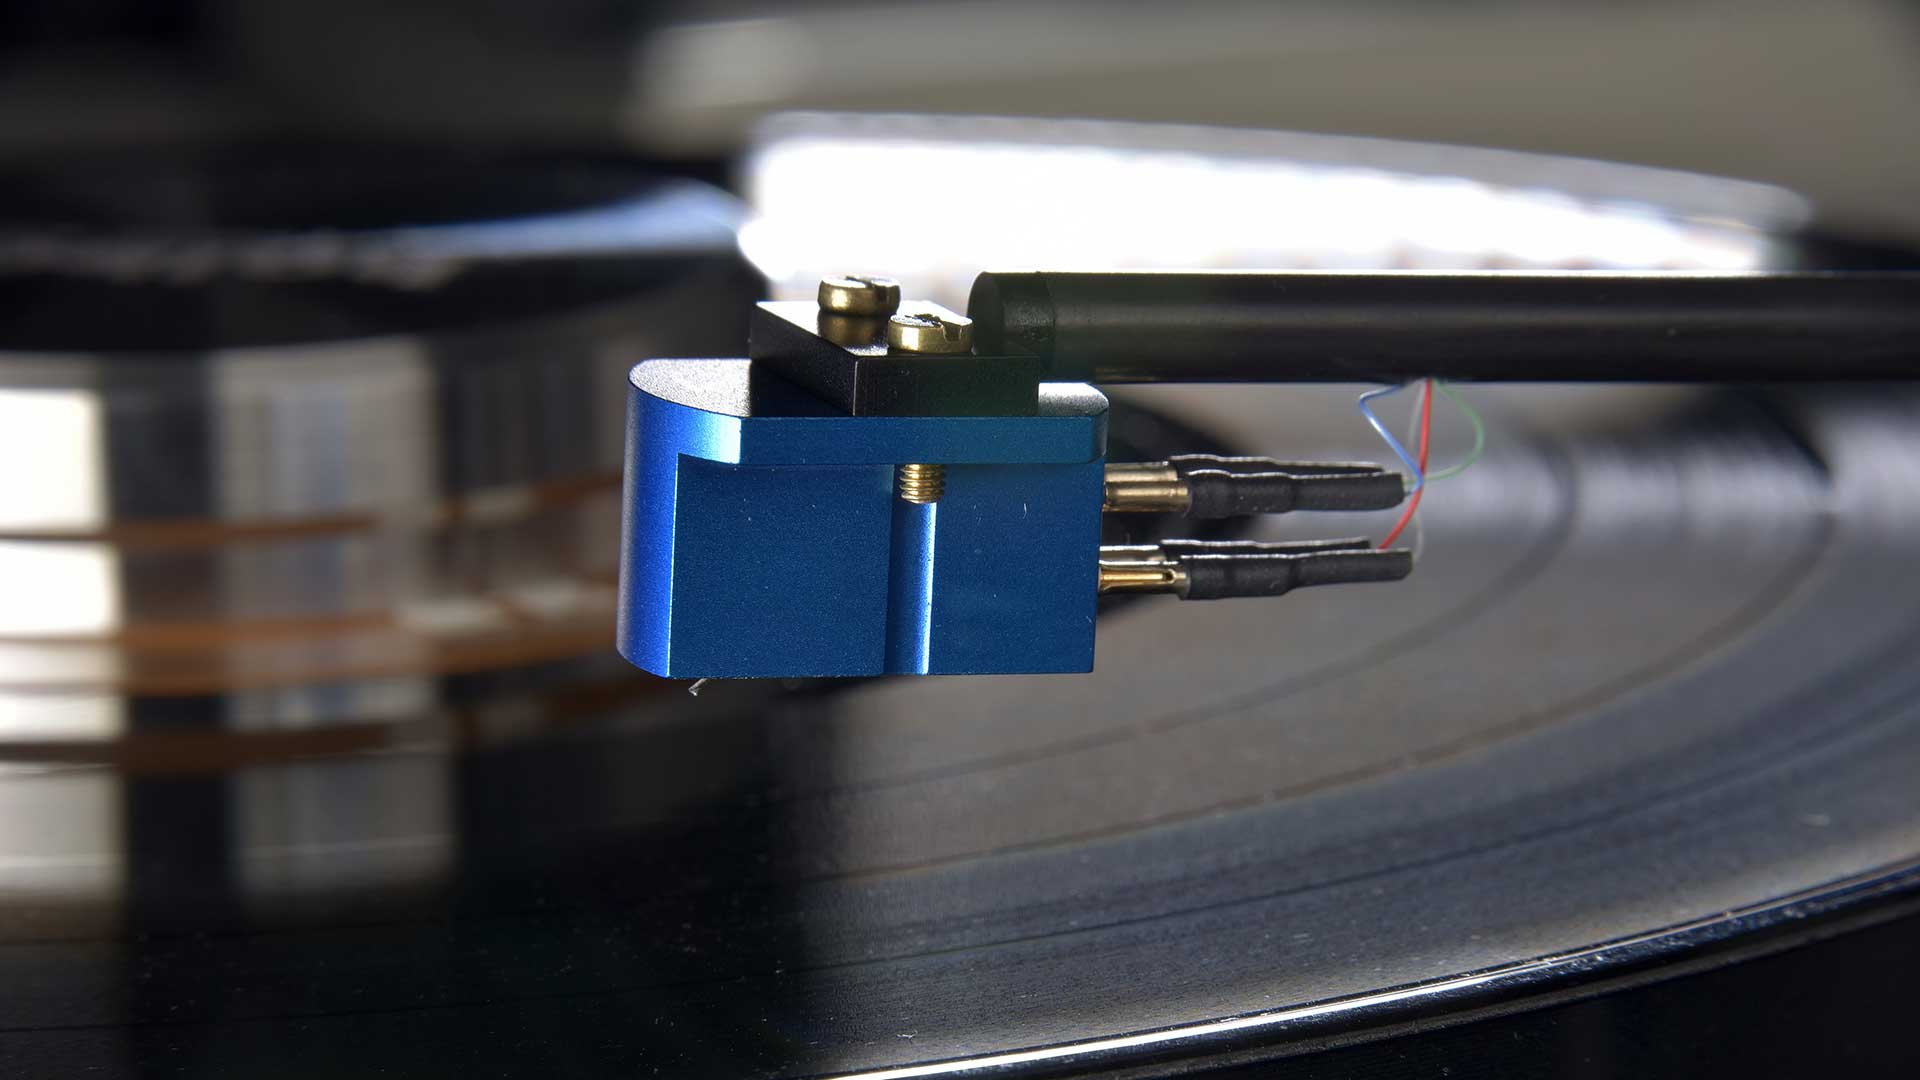
Many turntables these days also have the cartridge fitted into a removable headshell (see the Technics SL-1300G for instance), making it easier to swap cartridges out if you're updating.
If the cartridge isn’t pre-fitted, then you have a bit more work to do. Most cartridges are held on with a pair of bolts, and these are small and easy to lose, so take care. Some have captive nuts built into the cartridge body, which makes things less fiddly.
Once it's mounted, you will need to connect the thin, fragile arm wires to the cartridge. These are colour-coded but there’s not much space, so you will need small long-nose pliers to help attach them. Be careful when doing this: it doesn’t take much to damage the connectors or even break the wires.
Cartridge alignment
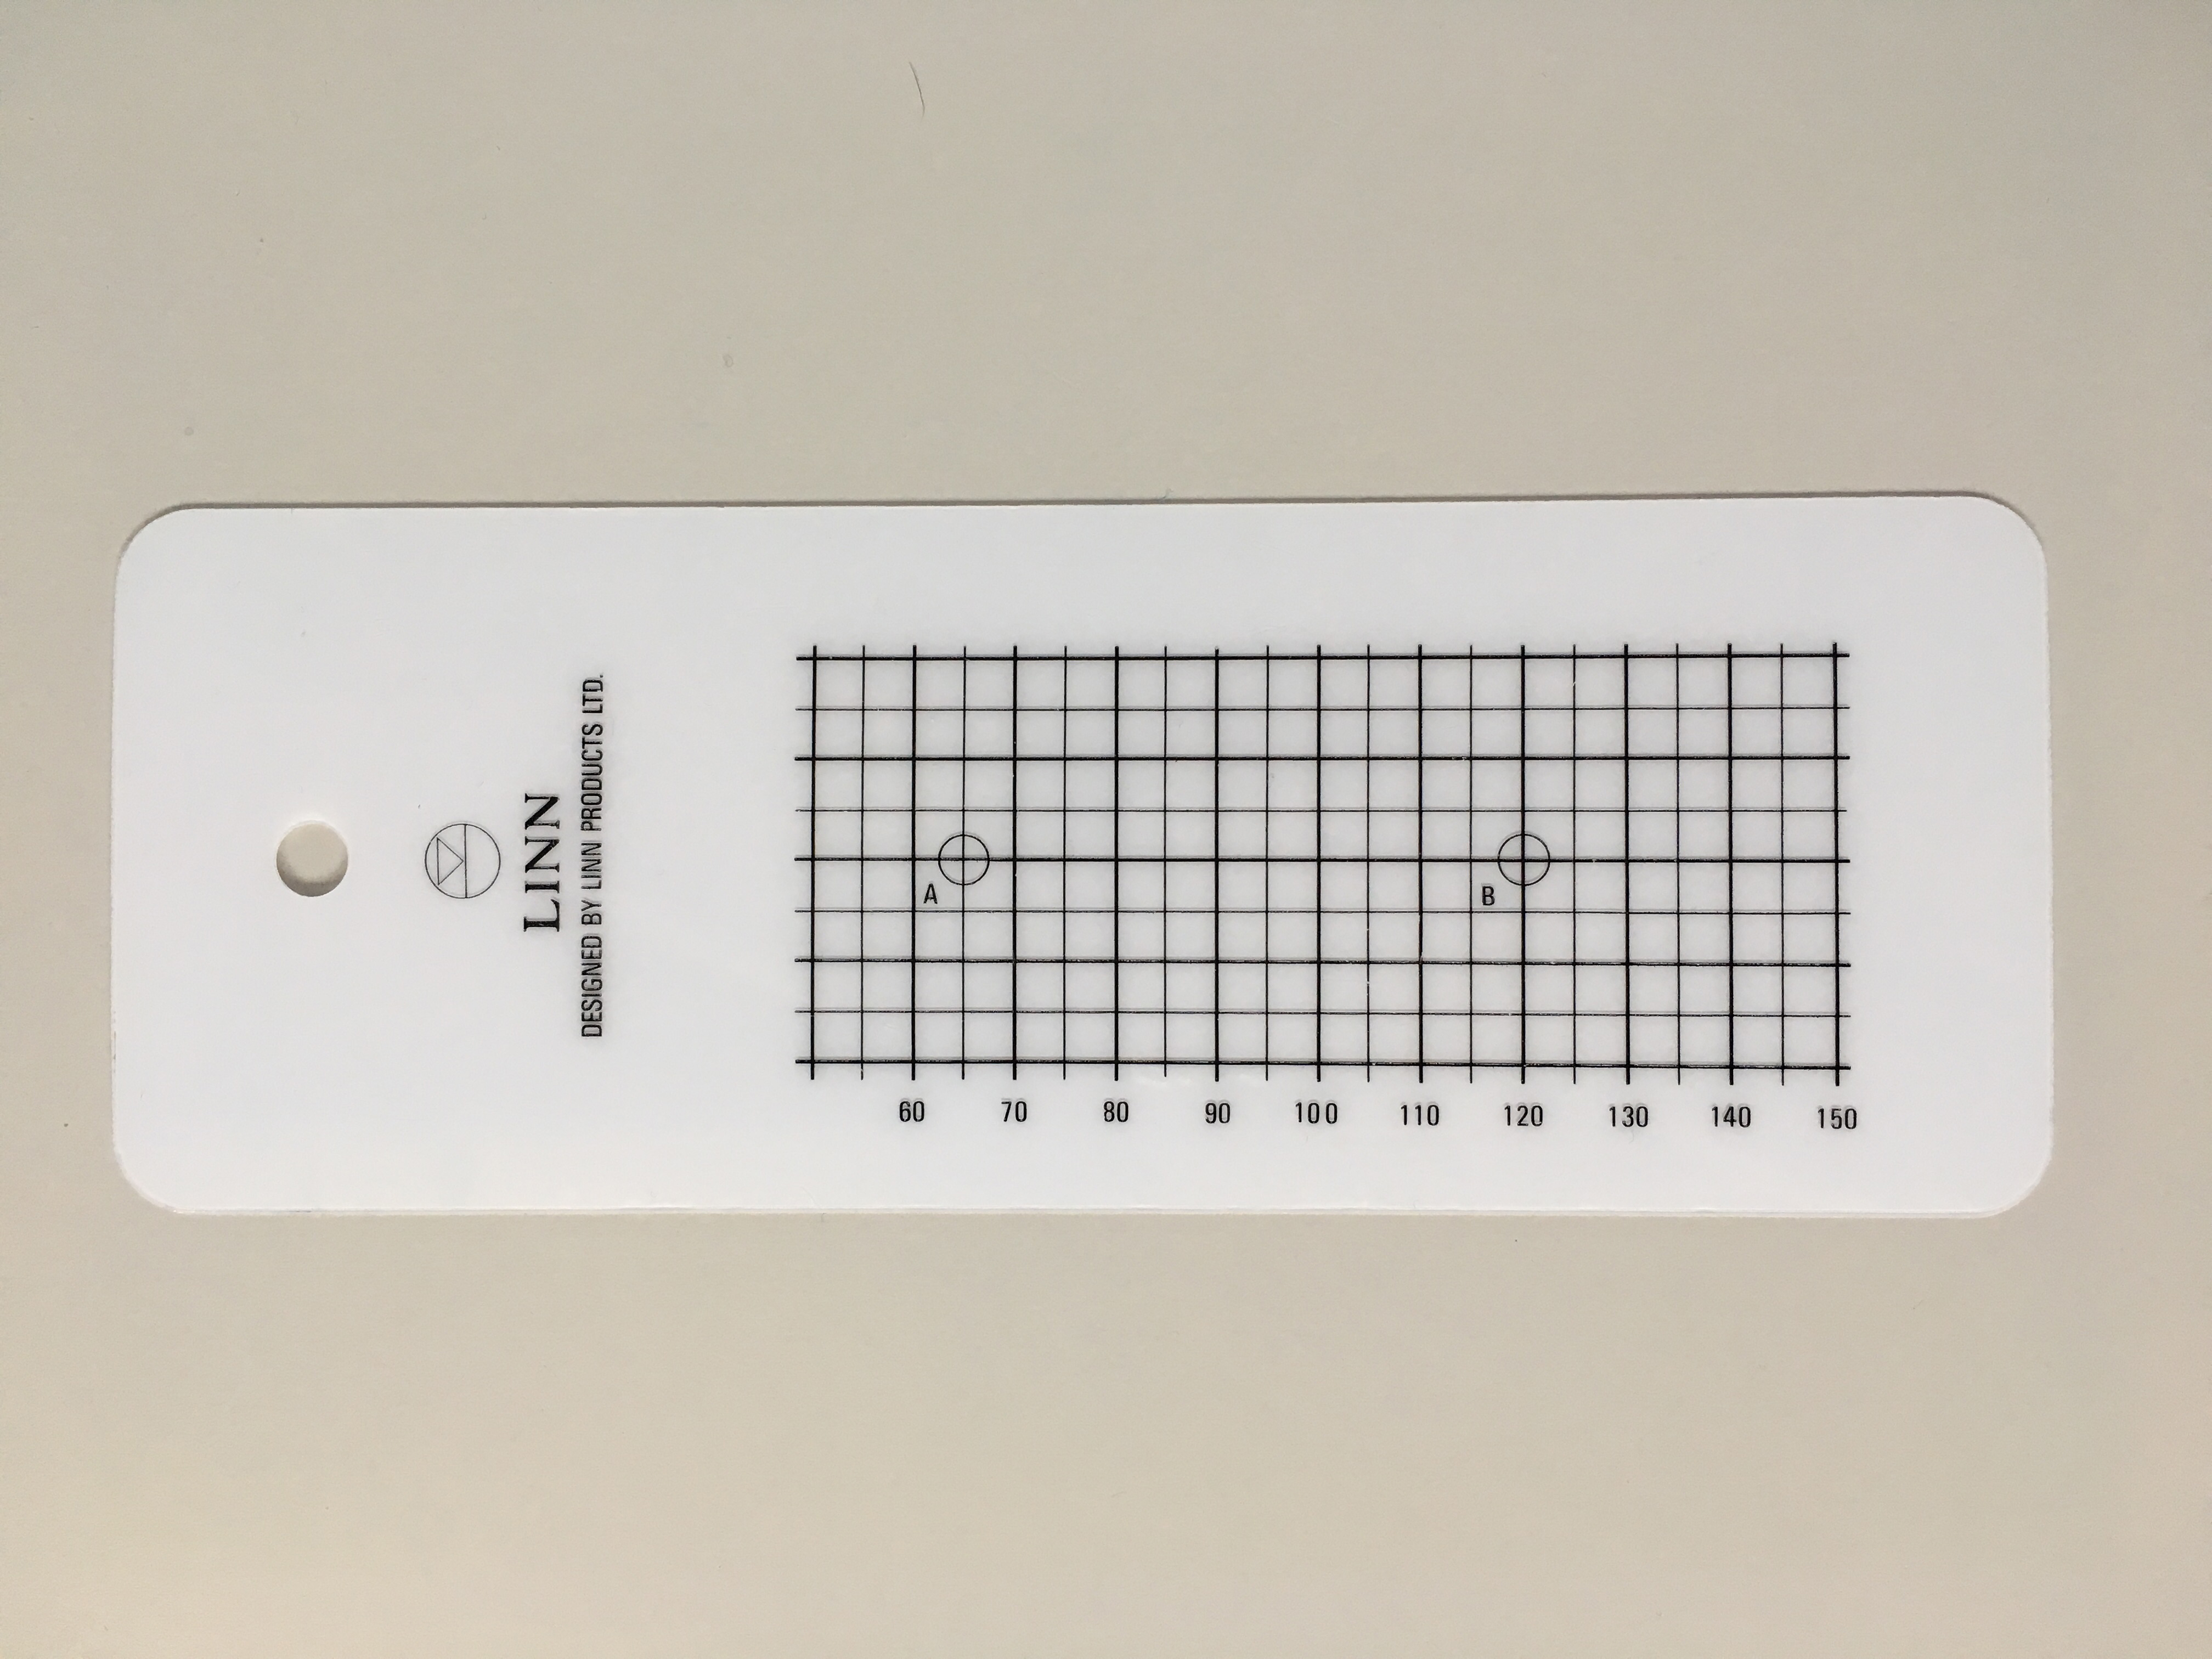
If you need to align the cartridge, you will need a gauge. While you can get expensive metal gauges, many manufacturers supply a simple but effective card-based alternative in the box. This usually consists of two points, each surrounded by printed parallel lines.
The idea is to get the cartridge body square to the lines while the stylus tip is placed on each point. This takes a bit of patience but, once the cartridge is aligned properly, the stylus top will sit at the proper angle in the record groove, distortion levels will drop and record wear will be minimised.
It’s worth taking time to get this right. Errors as small as a degree can lead to large rises in distortion.
Tracking weight
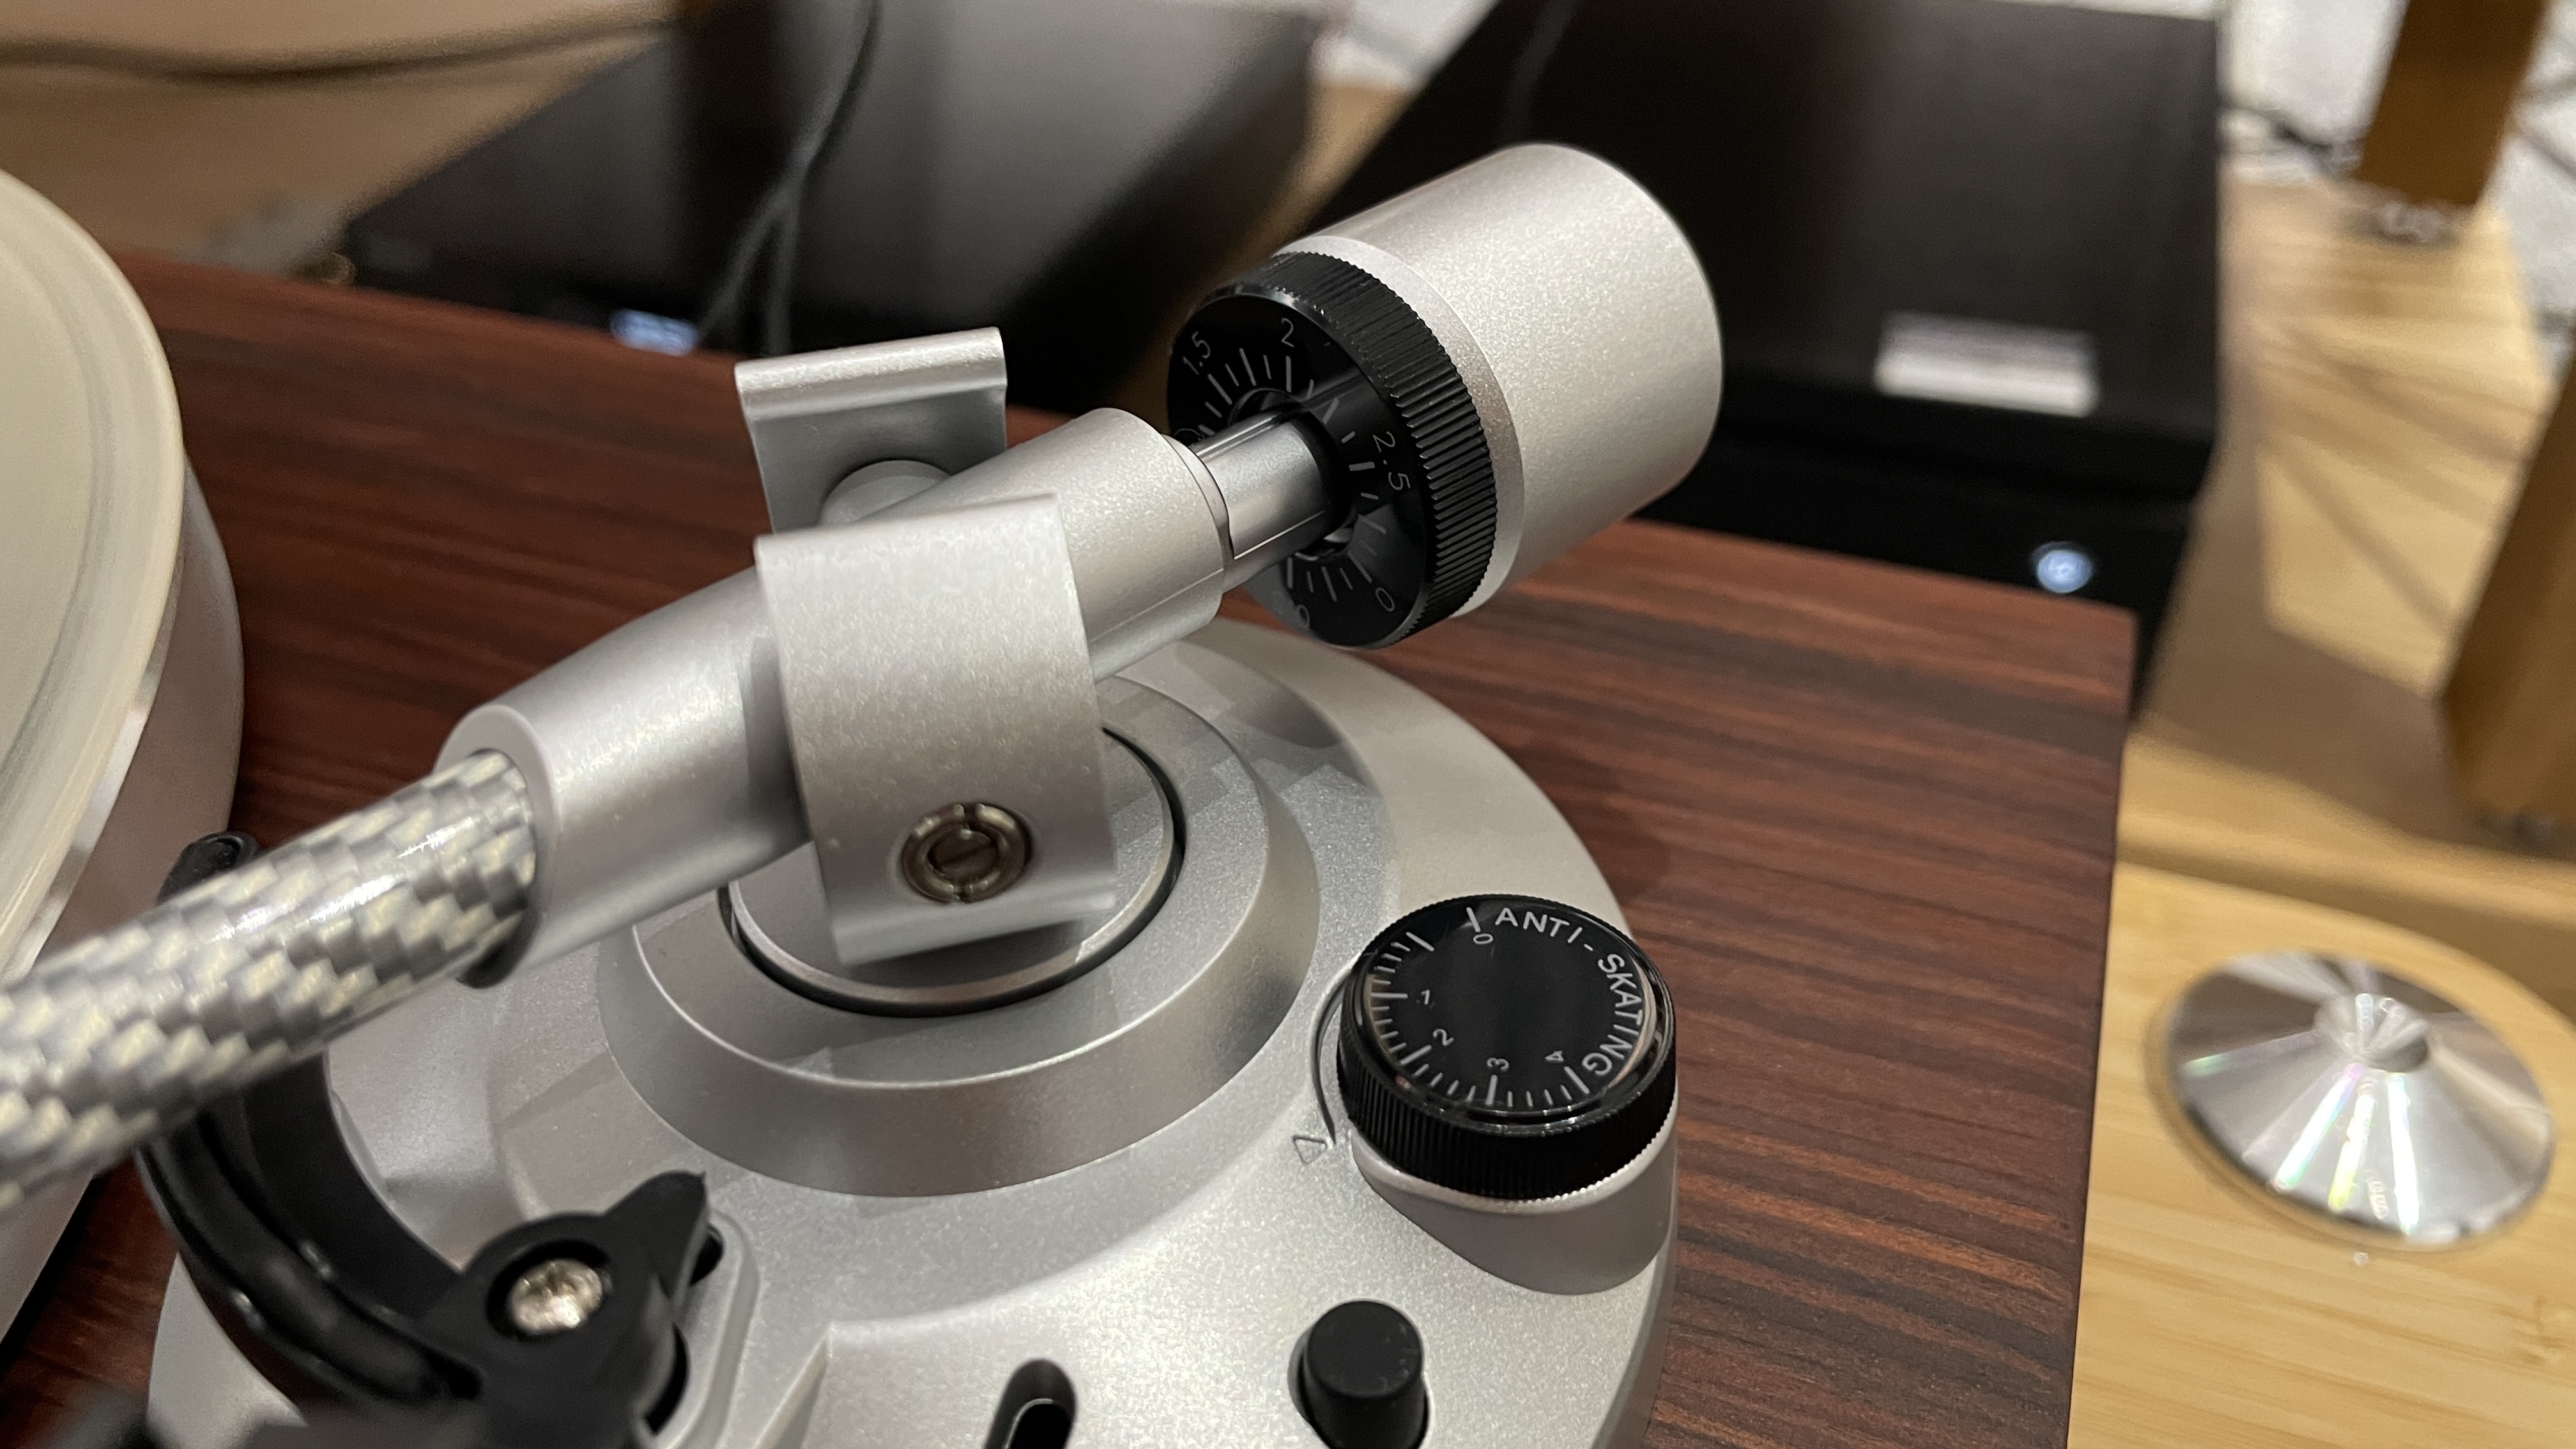
Then there’s the tracking weight, (also referred to as tracking force) which is adjusted by moving a counterweight at the rear of the tonearm. The down-force should be set according to the cartridge manufacturer’s recommendation, to start with at least.
If the tracking weight is set too high, the sound becomes dull and ponderous. Too low, and the presentation turns thin and the cartridge won’t track the groove properly.
This is done by moving the counterweight on the back of the arm and adjusting the bias (sideways force) to compensate for the inward pull of the record groove.
The cartridge manufacturer will recommend a suitable range of downforce, usually between 1.5 and 2.5g, with a specific weight listed as most ideal. That weight would be our starting point but, with production tolerances and the use of different arms, it is sometimes possible to get better sound with a bit of experimentation. It’s usually best to stay within the recommended range, though.
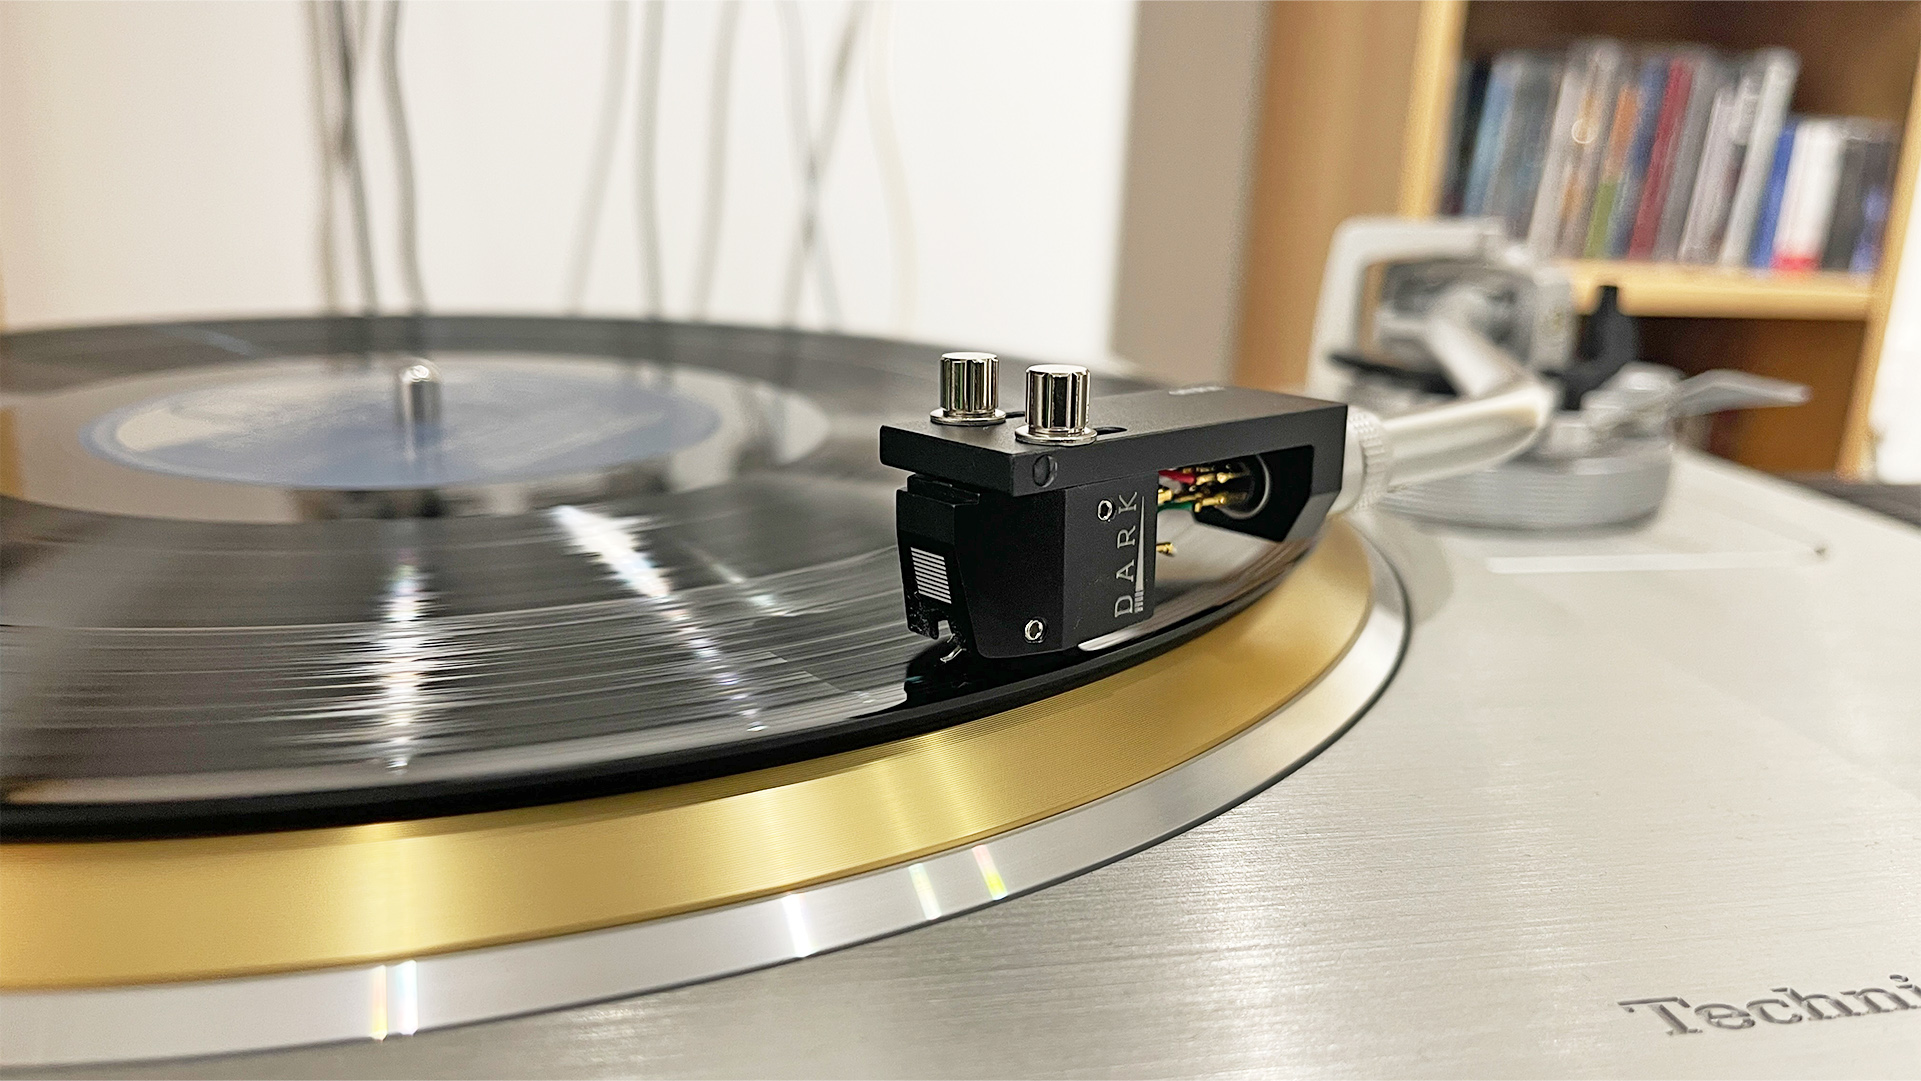
If you overdo the lightness, perhaps in an attempt to reduce record wear, the cartridge will mistrack, damaging the record grooves in the process. Counter-intuitively, if in doubt go a touch heavier (but not Crosley heavy). The stylus tip will sit in the record groove with more stability, produce less distortion and cause less damage.
Most arm weights come with markings to help, but if you really want to be accurate it makes sense to buy dedicated cartridge scales. While there are expensive – and very accurate – digital options, there are also plastic alternatives that do the job well enough. These cost only a few pounds.
The last adjustment on the tonearm is that of bias. Bias is a sideways force on the cartridge to balance out the inward pull of the record groove. The bias is usually set to the same amount as the tracking weight and is also referred to as the anti-skate setting (see the Pro-Ject Debut Pro turntable).
As with the tracking weight, don’t be afraid of playing around with the bias setting – small changes can make a notable difference.
Use a good phono preamplifier
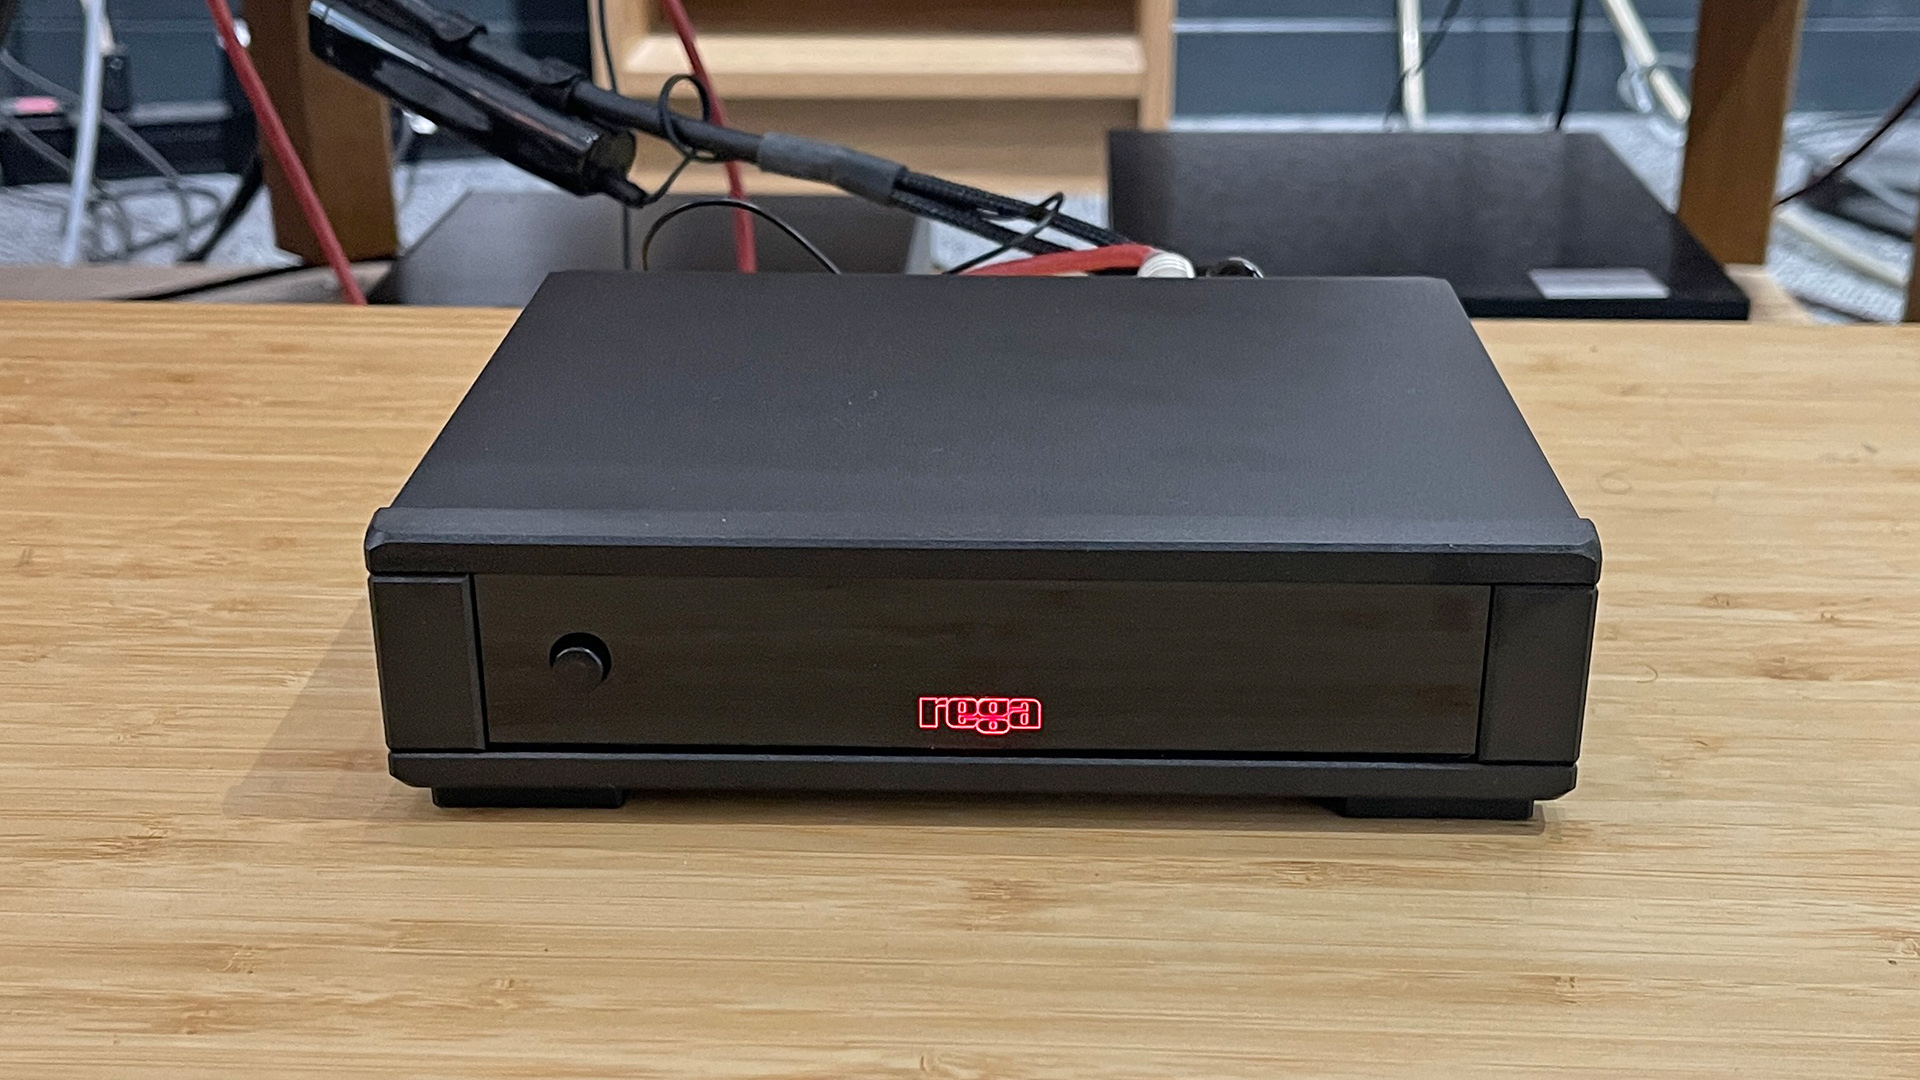
Get all these things right and your deck will perform well, though that’s not the end of the story. One of the side-effects of the move to digital music has been the loss of a phono stage (also known as a phono preamp) from many amplifier designs.
Even if such a circuit is included – as it is in quite a few plug-and-play turntables – it’s often an afterthought, with little care taken to maximise sound quality.
What does a phono stage do? It provides extra amplification – the output of a cartridge can be in the order of a thousand times less than a typical CD player – and equalises the tonal balance.
Vinyl isn’t physically able to accept large amounts of bass during cutting, so the tonal range of the music has to be skewed heavily towards the higher frequencies to make things work. On playback, the phono stage’s job is to rebalance this. A good phono stage will let your record player shine, a poor one will have you wondering what the vinyl fuss is about.
All but the most basic of phono stages can usually cope with both moving-magnet (MM) and moving-coil (MC) cartridges. Moving-magnet designs are usually more affordable, and produce a higher output.
This is good news for the phono stage, as the signal requires less amplification and so any of the circuitry’s shortcomings are less magnified.
- Moving magnet vs moving coil cartridges: which is right for you?
- How to change the cartridge on your turntable
Don't forget about system matching

As is the case when you add any new component to a hi-fi system, you need to think about how your new turntable will match with the sonic characteristics of the other components currently in your set-up.
We always say the products in your system should complement each other. For example, if you have created a system to sound punchy, agile and articulate then you want a turntable that will play to those strengths and not hinder them.
A read through our turntable reviews will hopefully give you an idea of how certain ones sound so you can get a steer on which model(s) could be a suitable addition to your system. But there's no substitute for having a listen yourself, so try to audition these products from a retailer before you buy.
Happy listening!
MORE:
See our pick of the best turntables you can buy right now
Top tips for buying second-hand vinyl
From voice to vinyl: how records get their groove

Ketan Bharadia is the Technical Editor of What Hi-Fi? He has been reviewing hi-fi, TV and home cinema equipment for almost three decades and has covered thousands of products over that time. Ketan works across the What Hi-Fi? brand including the website and magazine. His background is based in electronic and mechanical engineering.
You must confirm your public display name before commenting
Please logout and then login again, you will then be prompted to enter your display name.

