
It's not much use buying an amazing TV if you don't know how to get the best out of it. After all, a new set is a big investment. You want to reap the maximum possible rewards from it, and that means setting it up properly.
It puts a lot of people off, but a quick tinker can make a huge difference.
This is best done when you first install it so you don't have to worry about key factors such as positioning once you've already got your feet up. But finer adjustments to the picture can be done at any time, and can make a world of difference to your picture compared to the factory settings. You can even adjust them depending on what you're watching, or the weather conditions (you might need to up the brightness if the sun is streaming through the window, say).
Our guide will help you through the process of positioning your TV correctly to plugging in your various sources and getting your TV connected to the internet, before tackling the all-important adjustments to brightness, contrast, motion processing and more. It all adds up to the best possible TV picture. Then you can put your feet up and really enjoy.
Where should you position your TV?
Putting your TV in the right position, and not just next to the nearest plug socket, is one of the easiest things you can do to make sure your TV looks its best.
For a start, you’ll want to make sure as many seating positions as possible are viewing the TV straight on. From an angle, colours and black levels can start to look washed-out - particularly if you're watching an LCD TV. This is much less of an issue with OLED TVs as the picture doesn't lose as much of its vibrancy when viewed from an angle, but we'd still try to sit straight-on to enjoy the full picture. A pivoting TV stand can help with this, if the size or shape of your room makes it tricky.
You’ll also want to consider reflections: most windows will have curtains or blinds you can close and, of course, lights can be switched off - but a dark room can also add to eye strain during long movie sessions.
It's worth noting that many TVs can automatically adjust brightness based on the ambient light in the room. Historically, these features have been pretty poorly implemented, but the new Dolby Vision IQ format, which adjusts brightness in conjunction with the Dolby Vision metadata of the content you're watching, is much more effective and worth using if you've got a TV that supports it. Even standard Dolby Vision TVs usually have separate presets for light and dark rooms.
For ambient lighting that won’t cause a distraction, consider placing lamps or lighting behind your TV. This is sometimes known as ‘bias lighting’. Many Philips TVs also have the rear-firing Ambilight LED light show technology built in which is both attractive and effective on this front.
What about viewing angle and viewing distance?

- 65in - minimum 2.5m (Full HD) or 2.1m (4K)
- 50-52in - minimum 2.2m (Full HD) or 1.7m (4K)
- 46in - minimum 1.9m (Full HD) or 1.5m (4K)
- 40-42in - minimum 1.7m (Full HD) or 1.3m (4K)
- 32in - minimum 1.3m (Full HD)
The screen should be at eye level when you’re seated, so invest in a decent TV stand that can accommodate any other kit you have, such as a TV box, Blu-ray player, games console or soundbar.
Don’t forget this rule still stands if you choose to wall mount your TV. Avoid the trend of placing it above a fireplace if you can, or it’ll be like sitting in the first row of the cinema. If you must place it higher than eye level, make sure you at least angle it downwards to make viewing more comfortable.
Recommendations vary on how far away from your TV you should sit - it depends on the screen size, as well as the resolution of your TV.
Here's how to calculate the right viewing distance for your TV, but a rough guideline for Full HD TVs is between 1.5 and 2.5 times the diagonal size of the screen. That changes to 1 and 1.5 times the diagonal size of the screen when it comes to 4K TVs.
The distance guideline exists because the larger the TV screen size is, the larger the pixel size - and if you sit closer, the chances of you seeing those individual pixels (and any screen artefacts) increase.
When it comes to 4K screens, however, the higher resolution leads to smaller pixels, meaning you can sit much closer to the screen (almost two-thirds the distance you'd sit away from a Full HD TV) without discerning those individual pixels. With an 8K TV playing native 8K content (not that there's much of that around), you can be sitting mere inches from the screen and still won't be able to see individual pixels, though that doesn't mean you should.
Ultimately, it comes down to personal preference and what works best for you and your room.
How to connect your sources

It’s time to think about what you’ll be hooking up to your TV. Some people will use an AV receiver and plug all their sources into that, while others may connect directly to the TV itself.
However you decide to do it, the best and simplest way to connect each source is via an HDMI cable. This will ensure you’re getting the best picture from HD and 4K sources, and can carry both audio and video using one cable.
Soundbars might be slightly different – many affordable options connect to a TV using a digital optical connection. It’s worth checking with your particular model and making sure your TV has the necessary socket.
If it does use HDMI, however, you’ll want to make sure you use the input marked ‘ARC’ (Audio Return Channel) or, better, eARC for this connection. This allows the TV to pass all audio from connected sources through to the soundbar. This is also the case with AV receivers, for passing the sound from smart TV apps back to the receiver to be amplified.
If you’ve bought a 4K TV, keep an eye out for HDCP 2.2, which might be labelled on one or several of your TV’s HDMI inputs. This is copy protection technology built into 4K-capable devices, and you’ll need to use these inputs for connecting any 4K sources, such as 4K Blu-ray players, 4K games consoles or 4K-enabled receivers.
More recently, HDMI 2.1 ports have arrived, bringing with them features such as 4K@120Hz, VRR and ALLM, all of which can be useful to gamers, particulalry those with next-gen consoles. If your TV has an HDMI socket that's specifically labelled as 2.1 or for gaming, plug your console into that, and if you've got an Xbox Series X or PS5, look for a port that can handle 4K@120Hz. If you're serious about gaming and your current TV doesn't support these features, consider upgrading to one of the best gaming TVs.
Also make sure to check for HDR (High Dynamic Range) support as well. If you have a 4K HDR TV, don’t assume all the HDMI connections will support an HDR feed. Similarly, you need to be using up to date HDMI cables to get all the latest standards. Check the specs on the cable product description.
Some older TVs only offer full-fat 4K HDR compatibility via two of its four HDMI inputs. Make sure you connect your 4K Blu-ray player to the correct HDMI input to get the full benefits of a 4K HDR picture.
As for channels, if you’re hooking up a satellite or cable box via HDMI, the set-up will take care of itself. However, if you’re using your TV’s built-in Freeview or Freesat tuner, connect your aerial or satellite cable then scan for channels in the channel tuning menu – the auto-scan option will usually do the trick.
What about connecting your TV to the internet?

With online video streaming becoming more and more prevalent thanks to the volume of TV shows and films (4K and otherwise) available on Netflix, Amazon Prime Video, Apple TV and Disney Plus, you’ll want to make sure you get your TV on to your home network to access all of that content. Catch-up TV apps such as BBC iPlayer also rely on an internet connection, as do other miscellaneous smart apps you'll find in most modern TVs.
Most TVs will walk you through this in the network area of the settings menu. While wi-fi is convenient (especially if your TV isn't near your router), we'd always recommend hardwiring via ethernet for a more stable and reliable connection.
This is especially useful if you're watching a lot of streamed or broadcast 4K content, as hardwiring will ensure you don't experience any drop-outs.
How to adjust your TV's picture settings
Now that’s done, it’s time to turn your attention to the picture. To make sure you’re getting the best performance from your new set, you may want to play around with your TV’s picture settings.
Most TVs now come with quite sensible default picture settings, but that doesn't mean you can't improve things with a few judicious tweaks.
The only thing to remember is: whatever tweaks you make to the picture will usually only apply to the selected HDMI input. Some manufacturers offer an option to apply your settings across all inputs, but you might find it beneficial to program inputs individually so you can make specific tweaks for certain sources. Some people even have different settings for day and night. You'll also probably find you need to tweak for HDR and non-HDR signals separately.
Your settings will also change when you watch any online streamed content (on Netflix, BBC iPlayer or YouTube) and, rather annoyingly, there isn't always a way to adjust the picture as you're watching it.
This might all sound like a lot of work but, generally speaking, you'll only ever have to do this once for each source. What's more, Dolby Vision HDR helps to make this easier. When watching Dolby Vision source material, a compatible TV will switch to usually one of two Dolby Vision presets which are generally well appointed and should offer a picture close to what the creator intended.
Should you use a THX Optimizer disc?

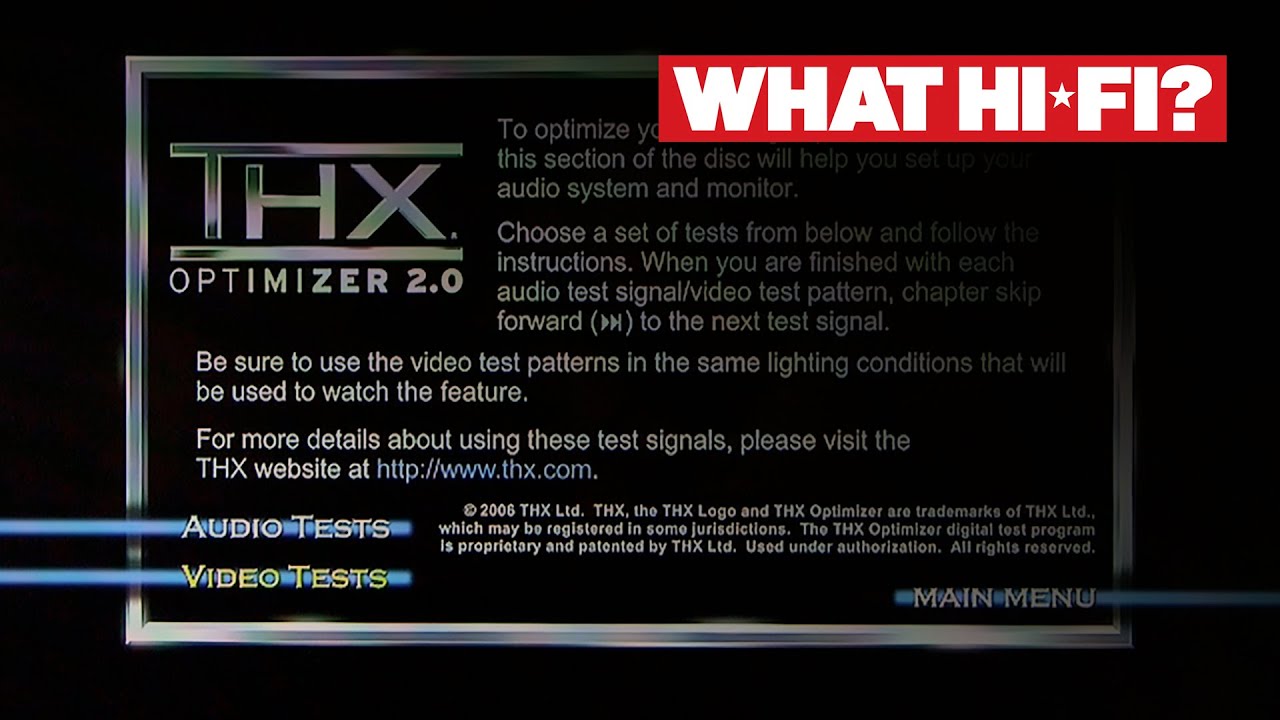
At What Hi-Fi? we use test patterns to set up TVs for reviewing, and a THX Optimizer disc can be very useful.
You can find THX’s calibrator in the extras on some THX-certified DVDs and Blu-rays, such as Star Wars, Pirates of the Caribbean and several Pixar movies.
Alternatively, THX has a free app for Android and iOS, but we’ll cover some guidelines for the main settings here.
Remember, if you want to start from scratch, look for the ‘restore factory settings’ option in the settings menu. Even once set according to these discs, it's worth remembering that they're starting points only. It's important to fine tune by eye and taste manually as you watch.
What about the TV's preset picture modes?

Most TVs offer a handful of preset TV modes, which is usually a good place to start. These vary depending on your TV’s make and model, but you’ll usually see variations on a theme of ‘standard’, ‘dynamic’, 'cinema', 'game', 'sports' and, increasingly, 'HDR'.
The 'dynamic' preset (sometimes labelled ‘vibrant’) might look impressive to begin with, but colours will usually be oversaturated and whites overblown, giving away detail in the process. So, these may not make the best first choices.
Instead, start with either 'standard', 'natural' or 'cinema' (sometimes called ‘warm’ or ‘pro’) – the last of these is usually the most colour-accurate.
If you have a 4K HDR TV, you'll find your TV automatically switches to an HDR mode when playing 4K HDR content. Designed to get your TV performing its best when playing HDR video, it will push the brightness and contrast barriers to the max to comply with HDR standards. Dolby Vision is a particular type of HDR that should switch compatible TVs to specific and often very good Dolby Vision presets.
There are a few other modes that might help in certain circumstances. For instance, if you have a games console hooked up to the TV, it's well worth switching to the 'game' mode. This is a low-lag preset, with most of the picture processing turned off to allow for quicker response times – especially important in first-person shooter games.
'Eco' mode is another option built into most TVs these days. While we're keen to do our bit for the environment, we’d suggest you turn this off as it affects the brightness of your set and causes variable performance.
On some sets the 'Eco' options are in a different area to the main picture settings – it's well worth tracking them down and switching them off, particularly any option with a name along the lines of 'ambient light detection'. This is intended to adjust screen brightness to the amount of light in the room but tends to result in an overly dull image.
And if you're a sports fan, avoid the sports mode - it makes everything look too garish and unrealistic.
How to adjust your TV's contrast

Contrast is another word for white intensity level, and these controls will determine how white the brightest parts of the picture appear. The aim is a bright image that keeps hold of highlight detail.
A good way to test this is a scene with clouds – turn the contrast right up to the top and notch it down until you start to see detail rather than a solid patch of white.
With LCD screens, you should be able to go quite high here, even as far as 80-90 per cent. Starting at around 65 per cent should give you a marker, but if you’ve got your hands on an old plasma TV, this will likely need to be a touch lower to avoid screen burn.
The same rule applies to OLED screens, even though they naturally don't reach the same dazzling heights as LCD sets. The aim here is to get enough punch in the bright areas so they contrast nicely against the pitch blacks without losing finer detail.
What about brightness, backlight and colour?

Brightness
Despite what its name might suggest, this control will actually tweak the black levels of your TV. We want the blacks in an image to be as deep as they can be without losing shadow detail.
To do so, turn the brightness right up so the black bars above and below your movie look grey, and then nudge the level down until they look black again.
Focus on something dark, like a jacket or shirt, and keep going as low as possible until you start to lose the detail in the creases. Choose the level before that detail started to disappear, usually somewhere around 50 per cent.
Backlight
This setting controls the overall brightness of your TV's picture, allowing you to adjust it for different viewing environments.
You might do this between day and night, turning it down a little in a darkened room to help prevent eye fatigue.
This setting will be purely down to personal preference and environment – best to start halfway and play around to see where suits.
Colour
You might not need to do much to the colour controls as the TV mode you choose will often tweak this for you automatically, with the slider usually sitting around midway.
Put on a colourful scene and see if colours look bright enough, pushing the control up a little if you think they could have a touch more punch. Conversely, if the colours look a bit overblown, tone it down a notch or two.
Next, bring up a scene with human faces to see if skin-tones look realistic – this can be the trickiest thing to balance, so spend some time making sure everything looks natural.
Most TVs also have a setting to adjust the picture's colour temperature. The settings range from 'cool' (blue-toned) to 'warm' (red-toned), although we try to leave it on 'neutral' or 'normal' as much as possible.
If you can’t strike a happy balance between vibrancy and realism, changing the tint and/or hue settings might help, but we often find they’re best left at the factory settings (usually 0 or midway).
How sharp should your TV picture be?

Adding sharpness to an image might sound like a good thing, but it can leave an image looking unnatural and rob it of subtle detail. How this should be controlled depends on your TV. First, watch out for sharpness enhancers, often called detail enhancers. These will make a big difference as you turn them on and off, so get the feel of those first.
Then head to the sharpness slider setting itself, and where you place this, again, depends on your TV. With some, it's best to keep it very low indeed, usually no higher than 30 per cent, while others can be pushed considerably higher.
To test this, take an image (HD or 4K) with a strong edge, and focus on that as you nudge up the sharpness from zero. At some point, you’ll notice the outline start to look unnatural and oversharpened, with a sort of halo appearing around it. When this happens, knock the slider back down until it disappears.
Going hand in hand with sharpness is overscanning, a process that dates back before the days of HD when broadcasters used to hide non-picture data at the edge of the TV image. You’ll need to make sure this is turned off in order to get the full picture.
Look in the menu settings for anything to do with aspect ratio, and make sure the screen is set to ‘full’, ‘1:1’ or a similarly worded setting.
What about TV processing modes?

Now we’ve covered the main picture setting modes, it’s time to talk about picture processing. Most manufacturers will fill their settings menus with a whole host of processing options, which can be very confusing and make a huge difference to picture performance - and not always in a good way.
That’s not to say they’re all write-offs. There have definitely been improvements in recent years but you’ll still rarely gain something in one area without losing in another – it’s a careful balancing act.
As a rule of thumb, we suggest you start with all processing off, adjust your picture settings and go from there. You can then test out any options from a good starting point to see if they make any improvement to your picture, making sure to start on the lowest setting each option has available before pushing it up.
Here are some of the most popular processing options to look out for and what they do.
Black and white enhancers
For the most part, the best thing you can do for strong black and white levels on your TV is to set your contrast and brightness settings properly, but the best TVs can offer even better performance via these enhancers.
That said, older or more affordable models are often best with modes such as these switched off as they can sacrifice detail at the same time as darkening blacks or brightening whites. In other words, approach with caution.
Dynamic contrast
This setting (and variations of this 'dynamic' option) will see your TV adapt its brightness depending on what is showing on the screen – so during a darker scene, it will go dimmer to hit deeper blacks, and then bump up the brightness for a light scene.
Again, the very best sets can offer improvements through a mode such as this, but mileage varies drastically from model to model, so experiment and decide what works best for you. Some sets even introduce flickering and obvious jumps in brightness when dynamic contrast is switched on. If you notice this sort of behaviour, you'd best turn the mode off.
How to adjust TV noise and motion processing

Noise reduction and edge enhancement
Noise reduction, or anything of a similar name, can soften a good HD or 4K image too much, taking away detail in an attempt to make an image less noisy.
The same goes in reverse for edge or detail enhancement, which will usually increase noise in a picture by trying to boost definition.
It's worth trying these settings out but they'll offer different benefits at each resolution level. Go gently.
Motion handling
This is one of the most contentious options when it comes to TV processing, but despite recent improvements you’re still ultimately gaining a smoother moving object for a less stable overall image.
Depending on the manufacturer, it will be known as something like Trumotion (LG), or Motionflow (Sony) and it works by scanning the image and inserting repeated frames or blank ones into the video sequence to prevent a jerky end result. Each manufacturer's technology works to differing effect but, at the time of writing, it's still Sony that's the king here.
Aggressive motion processing often results in a distracting blurry halo around a moving object. In movies, it can give a rather unrealistic sheen called the 'soap opera effect', where Hollywood blockbusters shot at 24fps (frames per second) take on the look and feel of an EastEnders episode shot at 60fps.
Some sports fans might prefer the smoother image and accept the picture artefacts it introduces in the process.
The technology has matured in recent sets, though, so we’d recommend setting it to a low setting if needed when watching films (or turning it off completely if you can put up with a small amount of judder). This is down to personal preference, and so it's worth playing around with.
Better results can often be achieved when motion controls are separated out into blur and judder controls (LG's OLEDs and Samsung's QLEDs offer this). If your TV offers these finer controls, we’d suggest you go easy on the judder controls and tweak the blur controls to suit.
Sit back and enjoy...
Now your TV is set up, all that remains is for you to feed it the best source material that you can, sit back and enjoy. Congratulations, you're now a TV settings boss.

