5 essential (but simple) tips to get the best out of your Sonos Arc Dolby Atmos soundbar
Follow these simple steps to get your Sonos Arc singing
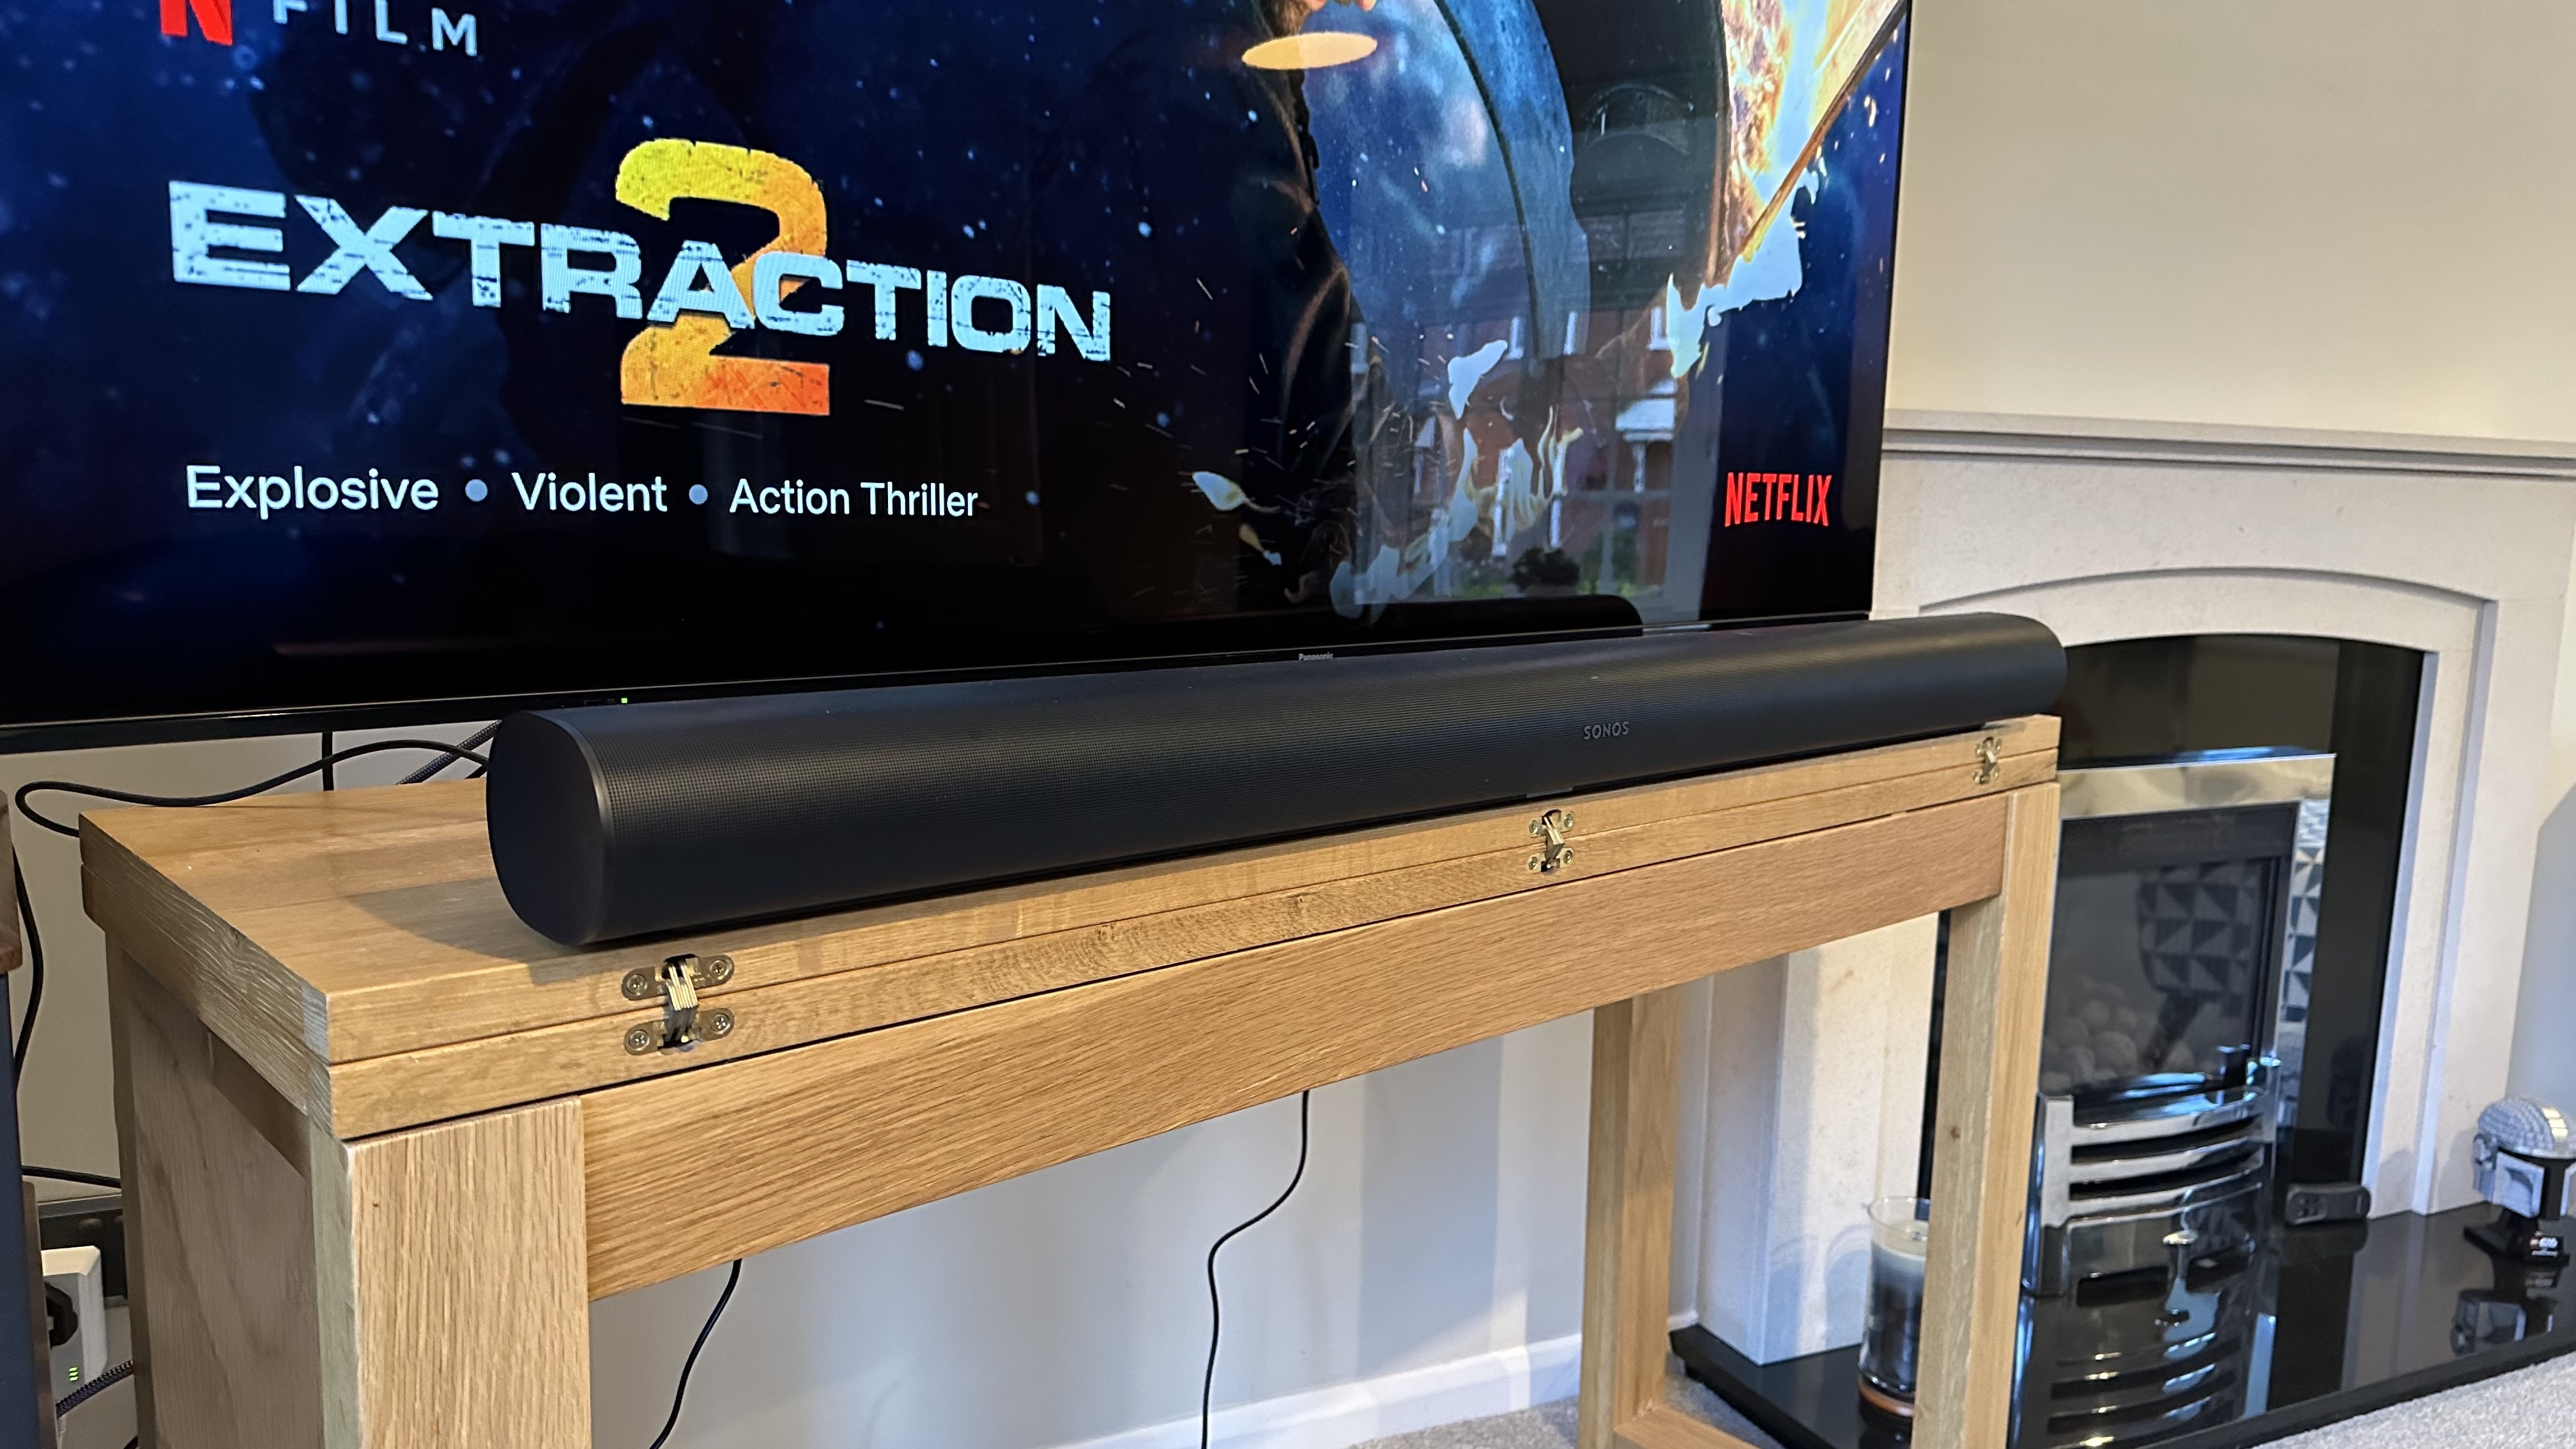
Three years after its original launch, the Sonos Arc is still one of the very best Dolby Atmos soundbars you can buy – to an extent that makes you wonder what some of the company's rivals are actually playing at.
Despite its technical excellence, the Arc is a mercifully simple device to set up and live with. That said, there are pitfalls into which some owners fall – simple mistakes that they make that hobble the sound of what is a gloriously cinematic soundbar.
So, whether you're a new Sonos Arc owner or an existing one keen to confirm you've done everything right, here are five essential tips to making sure your soundbar is performing at its very best.
1. Give it lots of space
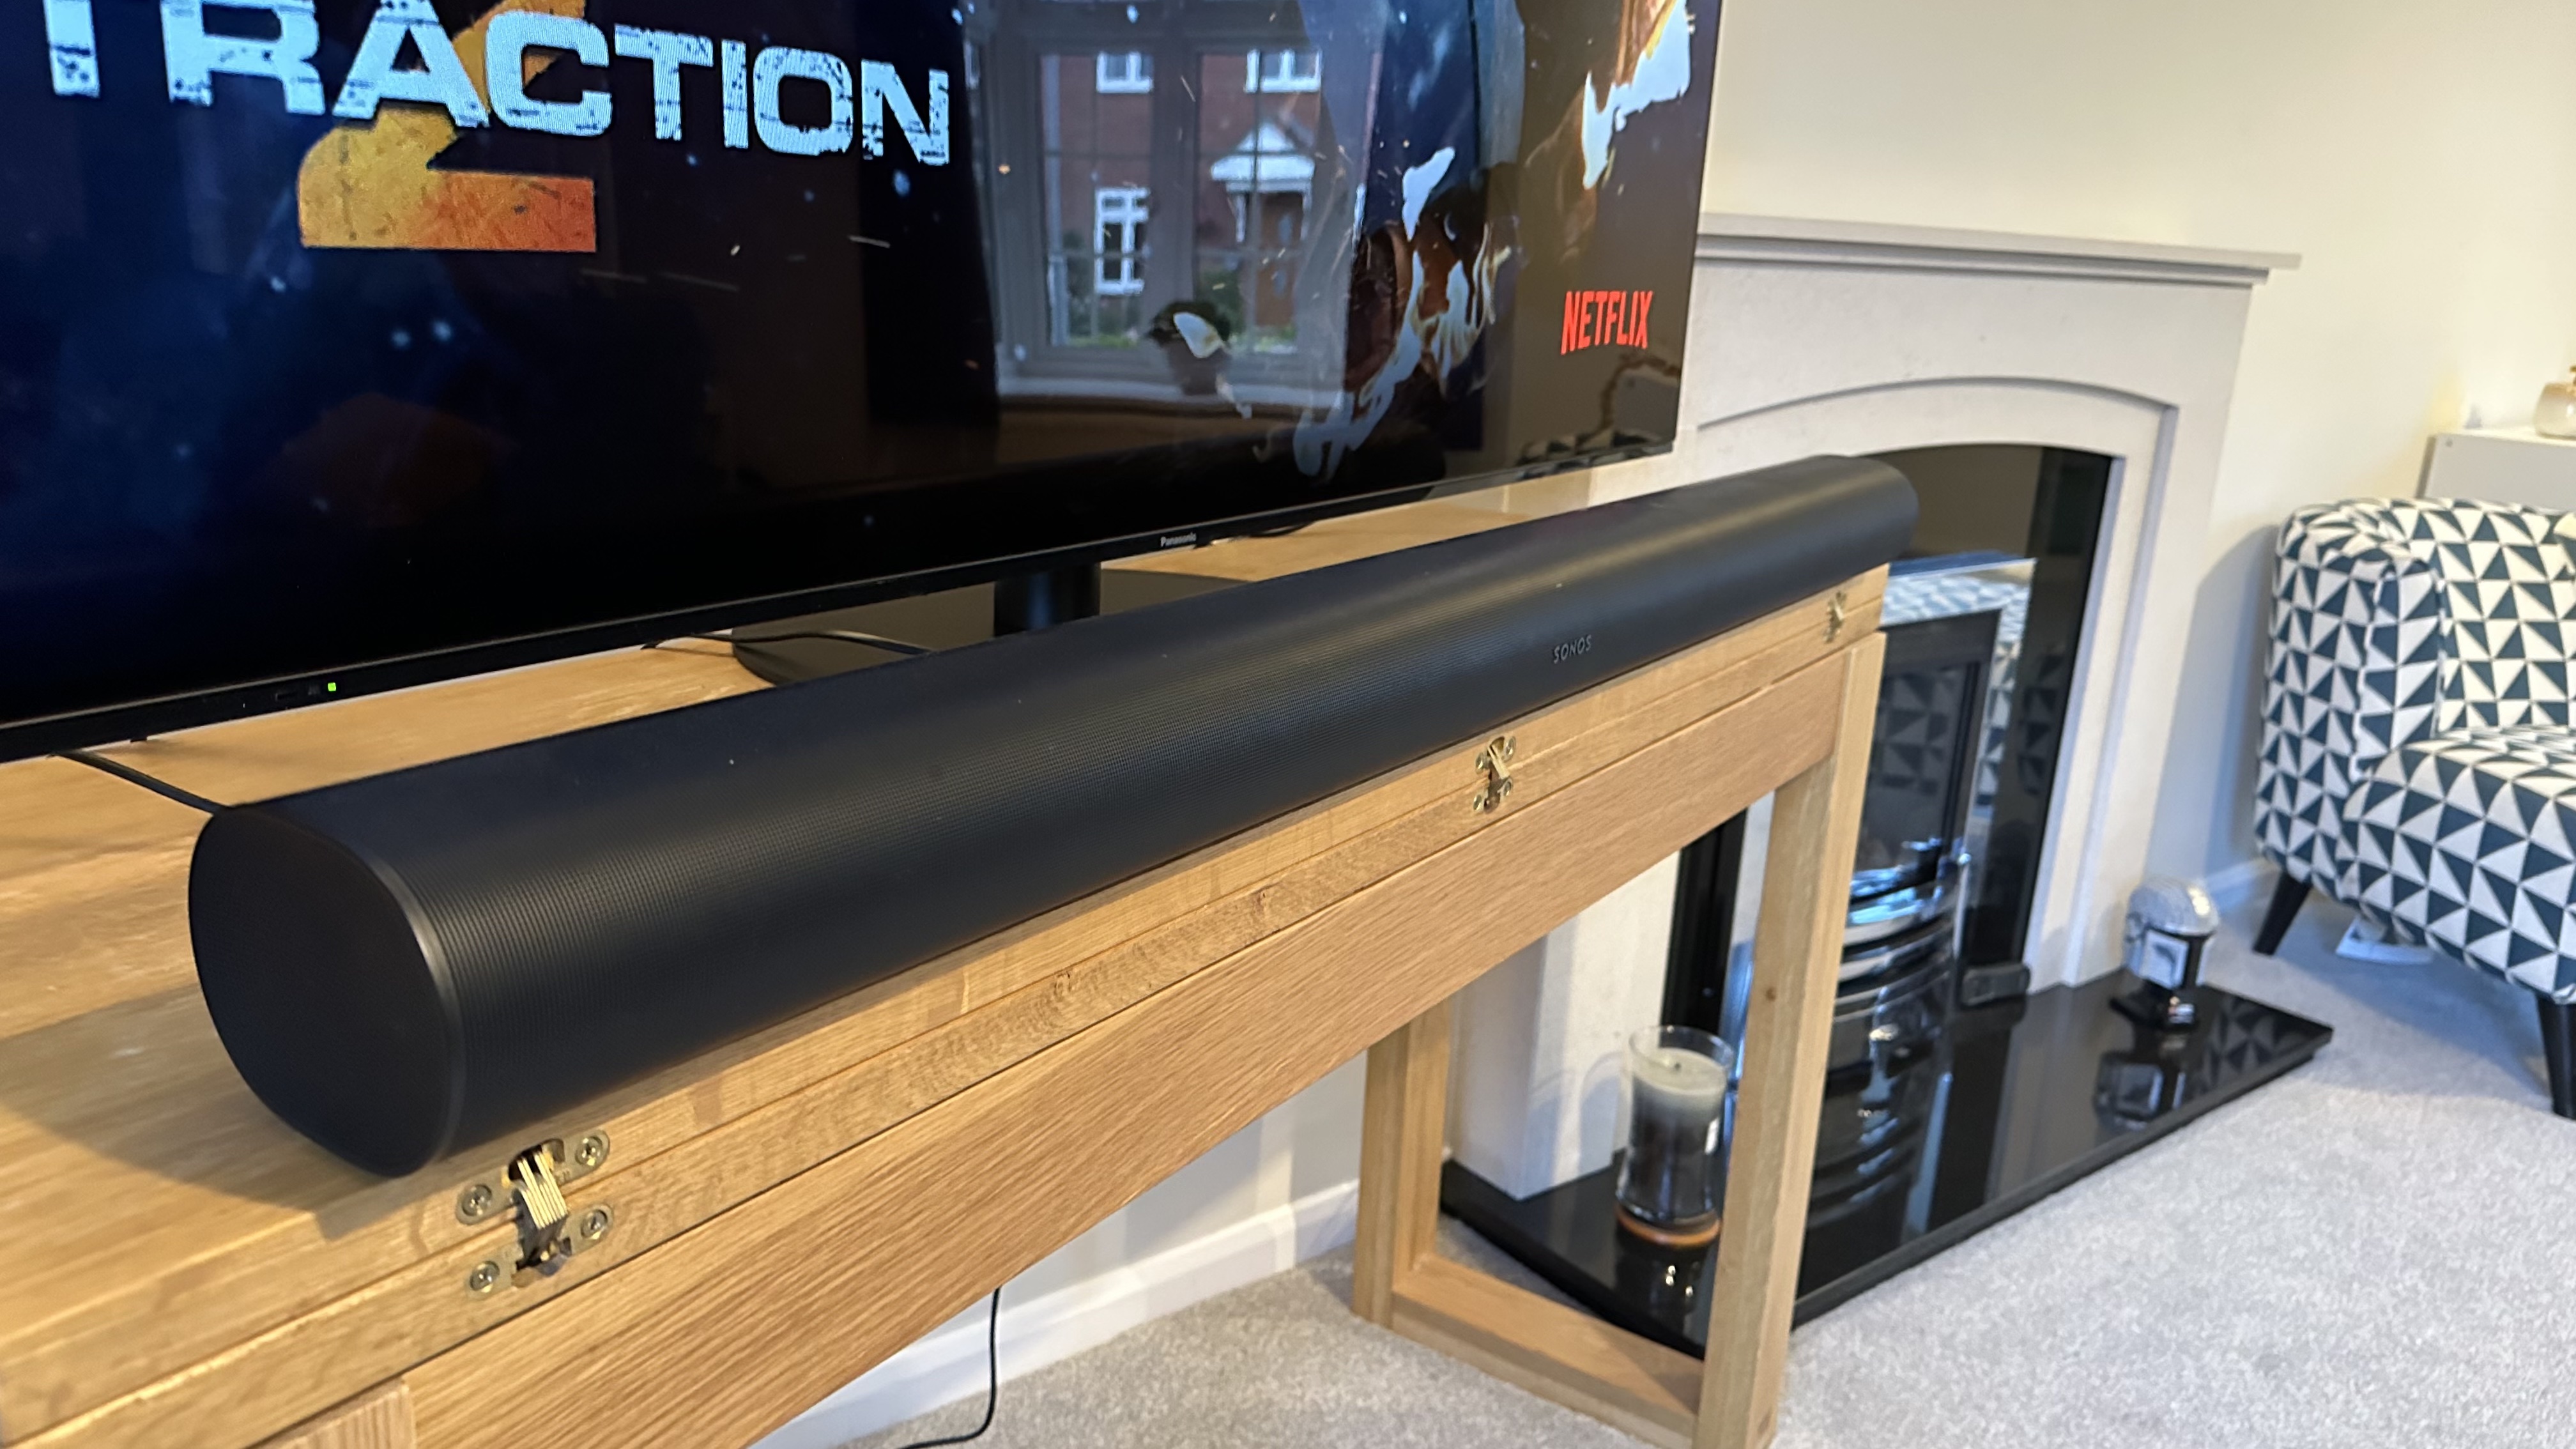
This might seem obvious to lots of people, but you'd be amazed at how many Sonos Arcs we've seen placed on shelves below TVs and even installed into the little nooks of fancy 'media walls'. Needless to say, this is not wise.
The Sonos Arc, like many soundbars Dolby Atmos-capable and otherwise, bounces sound off your living room's surfaces in order to create an enveloping soundstage. In fact, it features both up-firing and side-firing speaker drivers, and if there's a hard surface directly above or to the sides of the soundbar, the sound from those is going to be trapped and you're simply not going to get the Atmos or surround experience that it's designed to deliver.
If you can't or won't put a soundbar in free space, the Sonos Arc simply isn't for you.
2. Set your TV up correctly
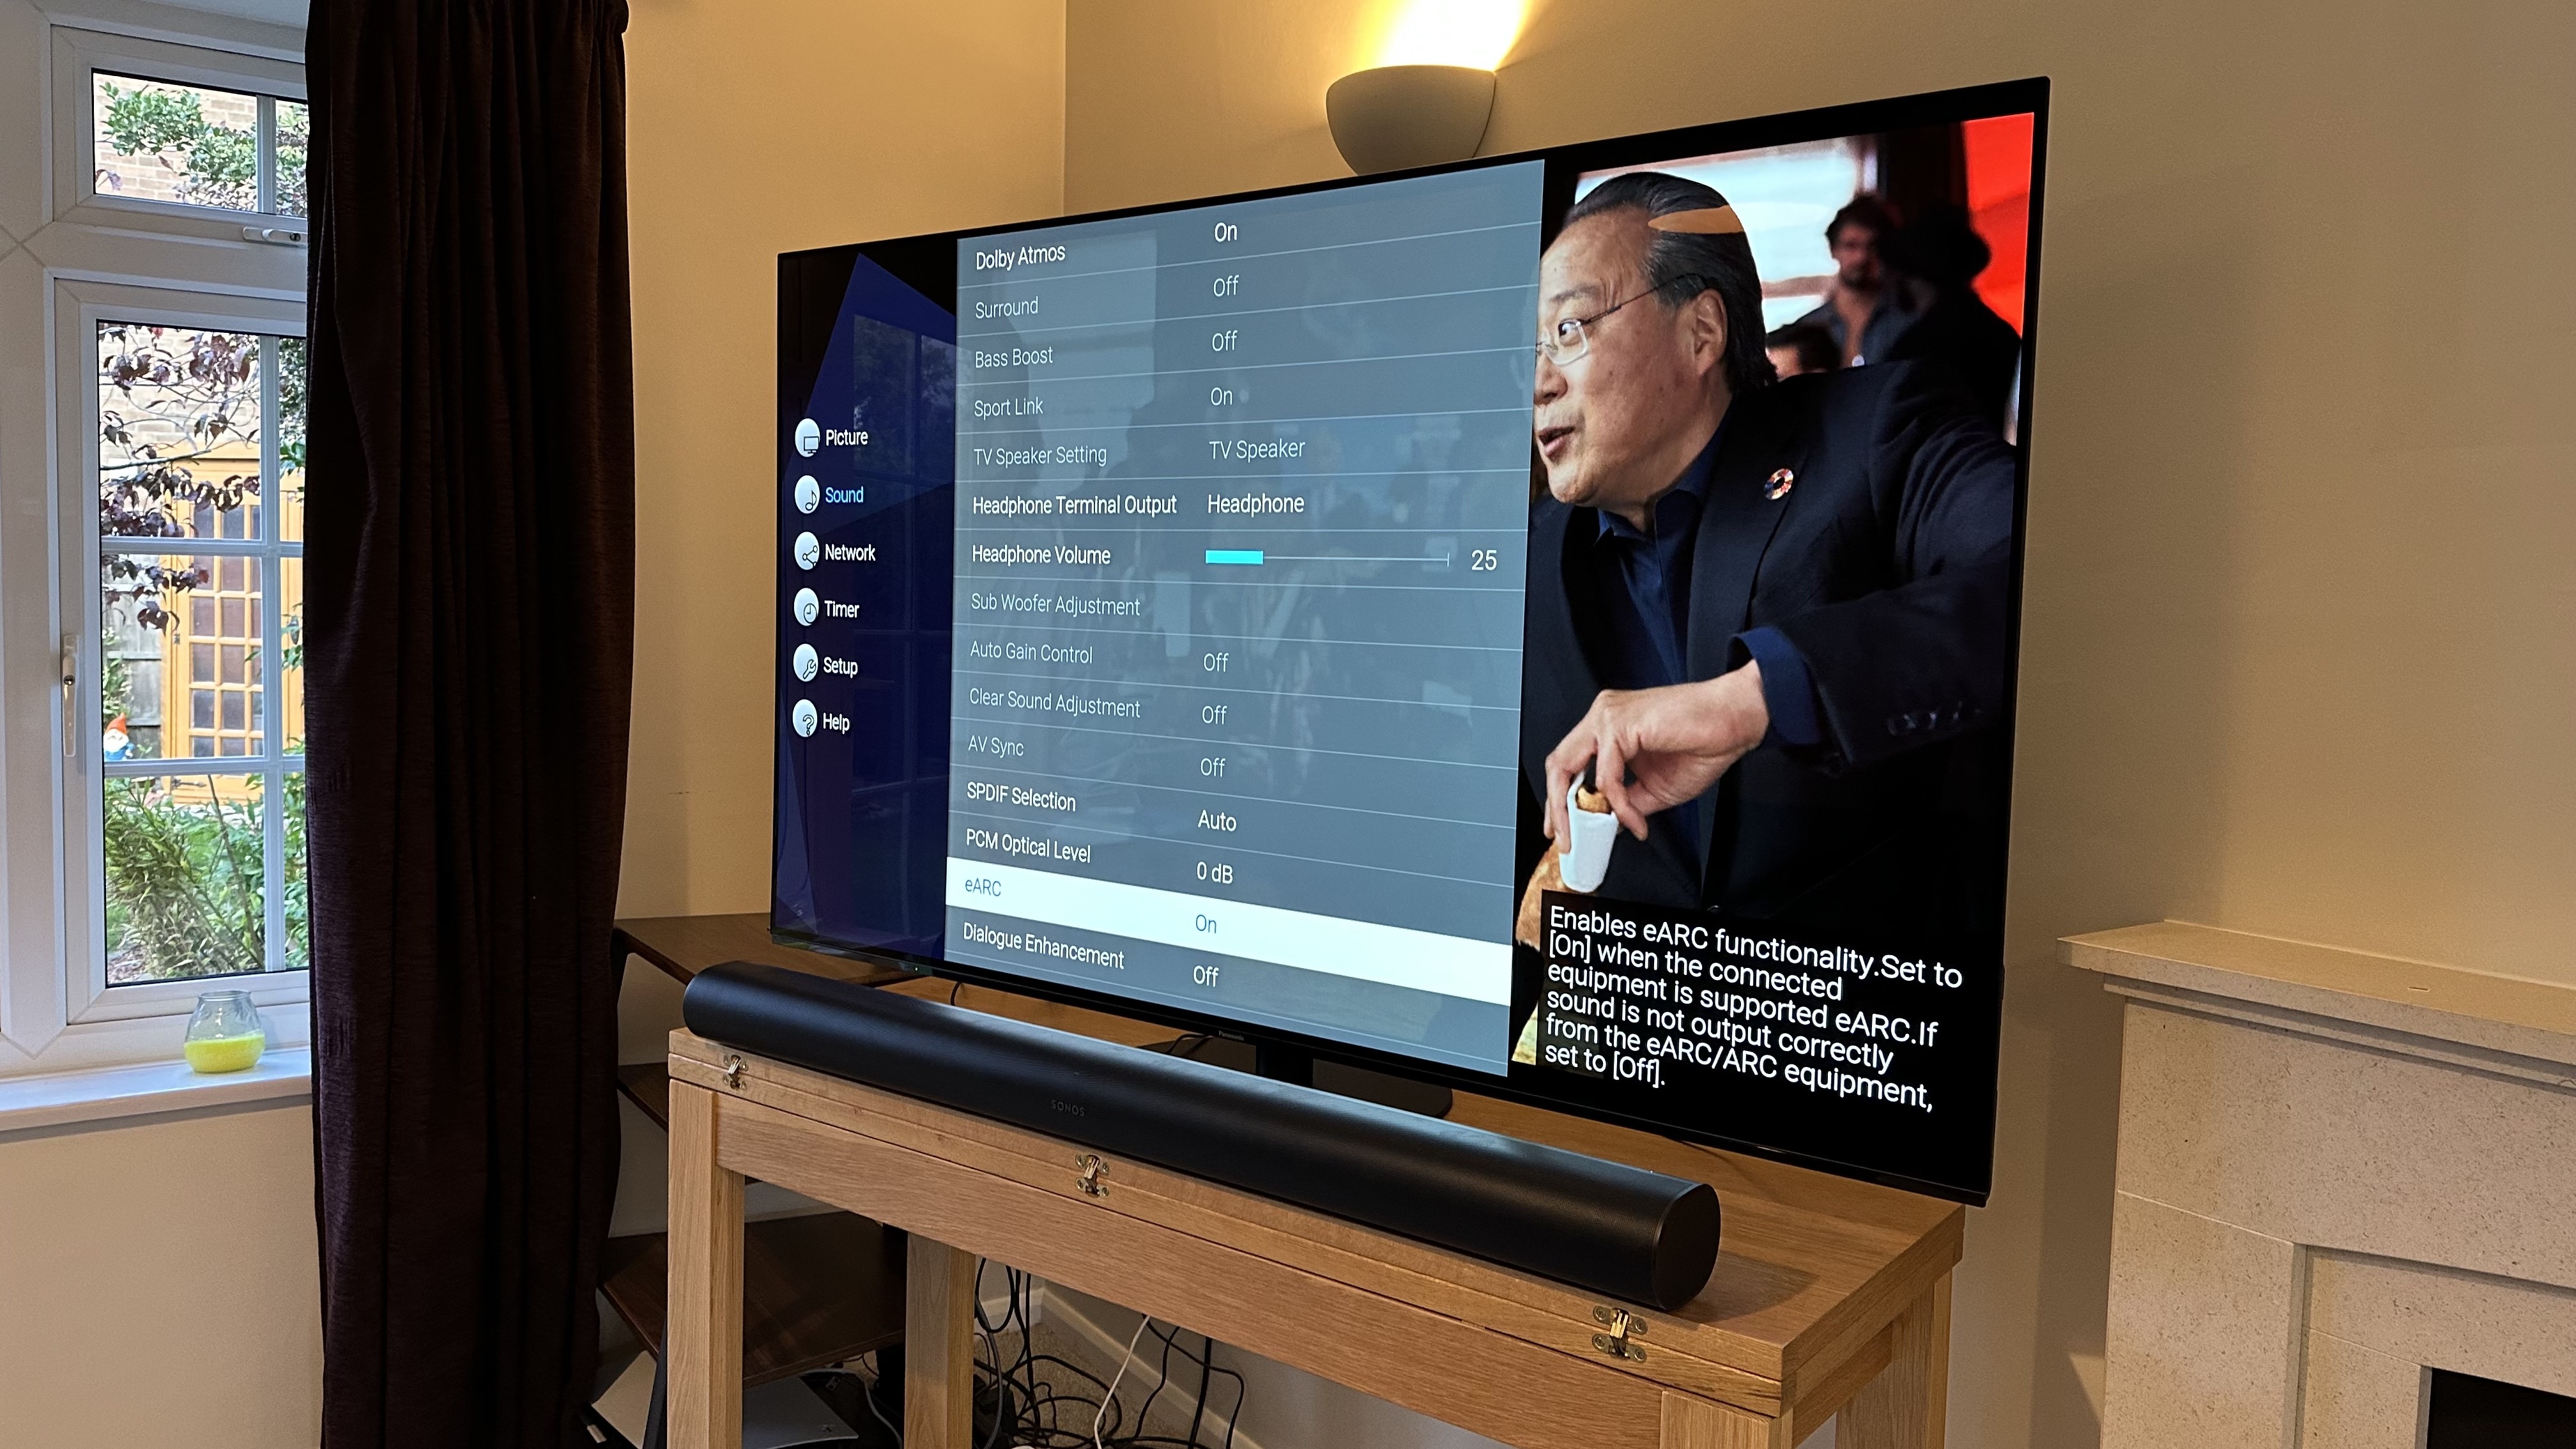
The Sonos app does a pretty good job of talking you through the TV setup process, but it is worth reiterating that you need to enable some specific settings in your TV's sound menus in order for the Arc to perform at its best.
The latest hi-fi, home cinema and tech news, reviews, buying advice and deals, direct to your inbox.
The first is that eARC should be enabled, assuming your TV supports it. eARC isn't technically essential for Dolby Atmos sound, but it does support higher-quality Dolby Atmos sound, and some TVs won't output Atmos at all unless eARC is enabled.
If your TV supports eARC, which all of the best TVs of the last few years do, it should have an HDMI port on the back that's specifically labelled as such. Connect the Arc to this and the eARC setting of your TV should be enabled automatically. Do check in its sound menus, though.
The next crucial thing is to ensure that your TV is outputting Dolby Atmos rather than defaulting to PCM or DTS. The Arc can handle PCM, but that won't give you overhead audio, and it currently doesn't support DTS at all, so make sure that Dolby Atmos is specifically enabled in your TV's menus.
You'll know it's working if you play a Dolby Atmos movie (try Extraction 2 on Netflix or Rogue One on Disney+) and the Dolby Atmos logo appears to the bottom-left of the 'Now Playing' screen of the Sonos app.
3. Do the Trueplay tuning – and do it again if you move the Arc
In order to understand your room and tune its performance to it, the Sonos Arc needs to be calibrated. This involves going through the Trueplay process, which sees you waving your phone around the room so that readings can be taken and sound output adjusted accordingly.
You're prompted to Trueplay the Arc during initial setup, but it's possible to miss the instruction and forget about it, and it also requires the use of an iPhone or one of a handful of iPads, which might put some people off.
The long and the short of it is that Trueplay is very much worth the effort, in that it generally results in a more open and better-controlled delivery. Make sure you've done it if you haven't already, and get an iPhone-owning mate to do it for you if you're an Android user.
What's more, if you move your Arc you should go through the Trueplay process again. Heck, if your Arc doesn't move but you change your sofa or even your furniture layout, it's worth doing a new Trueplay calibration. It only takes a minute or so each time.
4. Make use of Night Mode – but don't forget to turn it off again
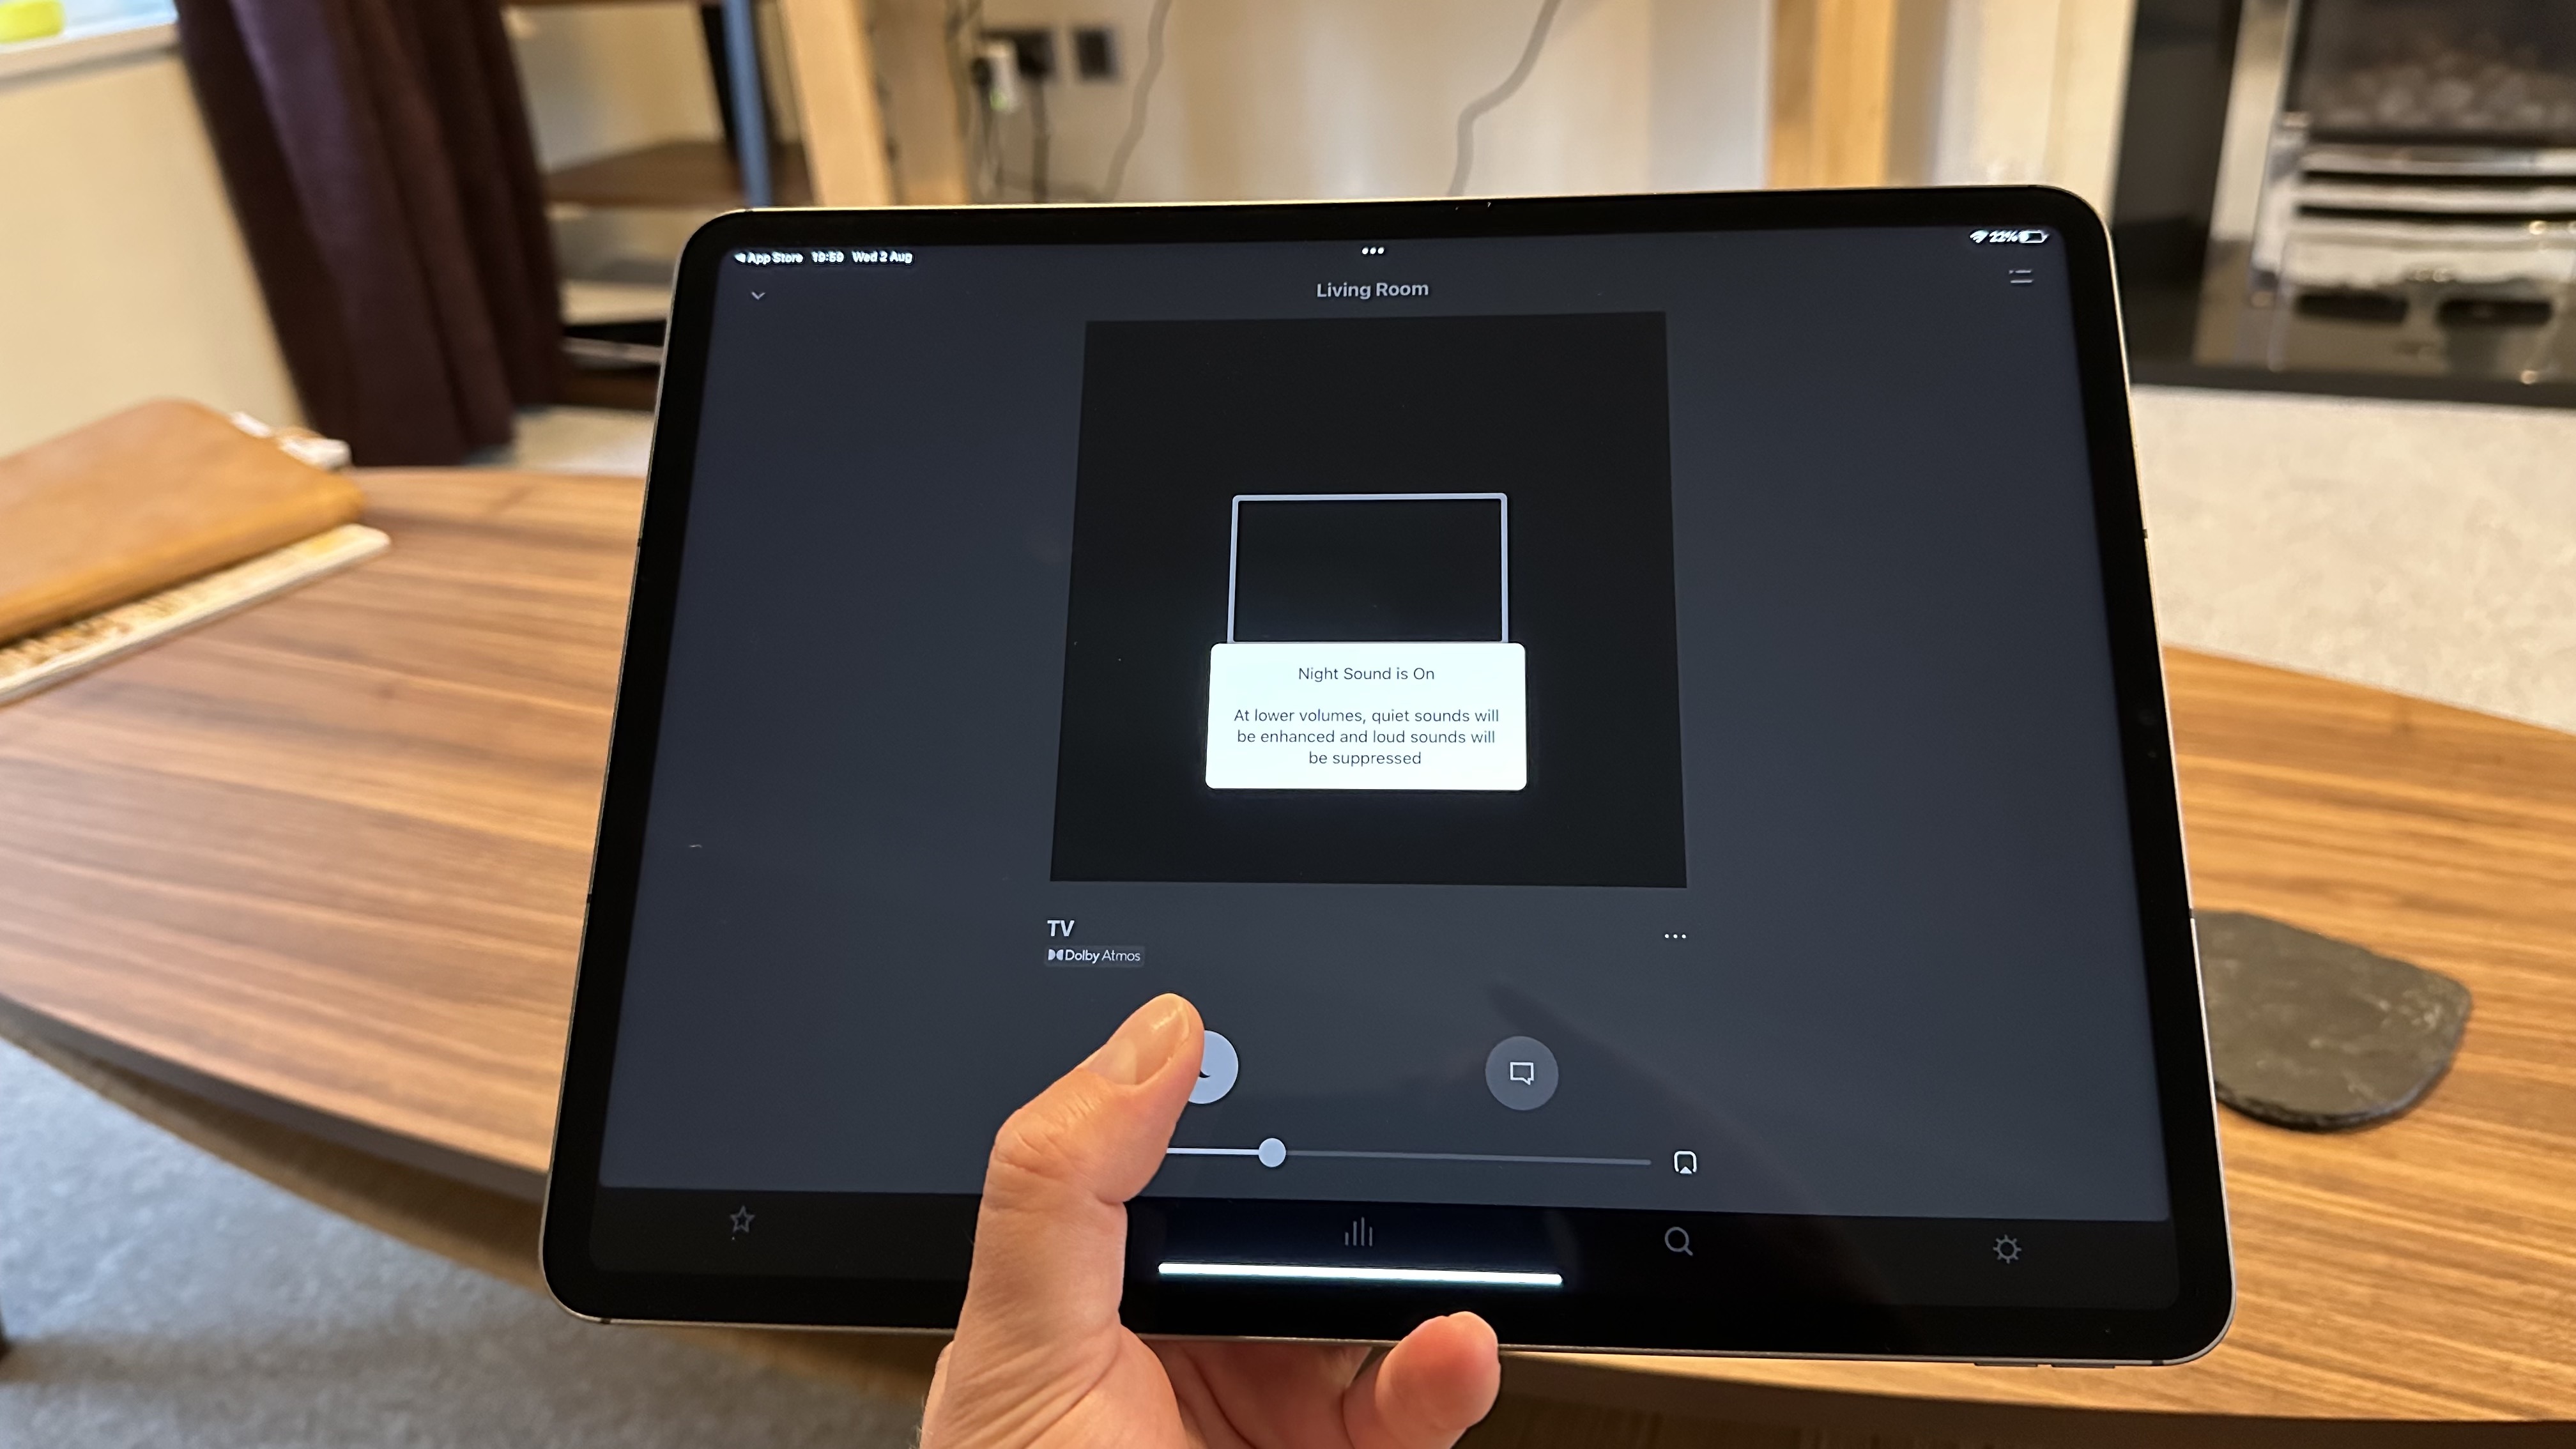
Some people can be very snooty about the so-called 'night' modes of home cinema equipment, but they can be incredibly useful. Essentially, such a mode will ordinarily reduce dynamic range and bass depth so that you can enjoy a movie, TV show or game without people in adjoining rooms or residences being disturbed whenever there's an extra-loud or bassy moment in the soundtrack.
It's true that such modes inevitably compromise the excitement of movie sound to some degree, but when done right, they preserve the essence of a soundtrack and make it possible to enjoy a movie late at night without, for example, waking the kids.
The Sonos Arc's Night Mode, which is available right from the 'Now Playing' screen, is very well implemented and doesn't make you feel as if you're missing out on too much. We heartily recommend that you make use of it when you need to, but do remember to turn it back off the following day, or else you could accidentally find yourself living with compromised sound for far longer than intended.
Here's hoping that Sonos one day implements a timer to its Night Mode, so that you can set it to automatically switch off the following day if you wish.
5. Consider adding a pair of surround speakers, but perhaps not the Sub
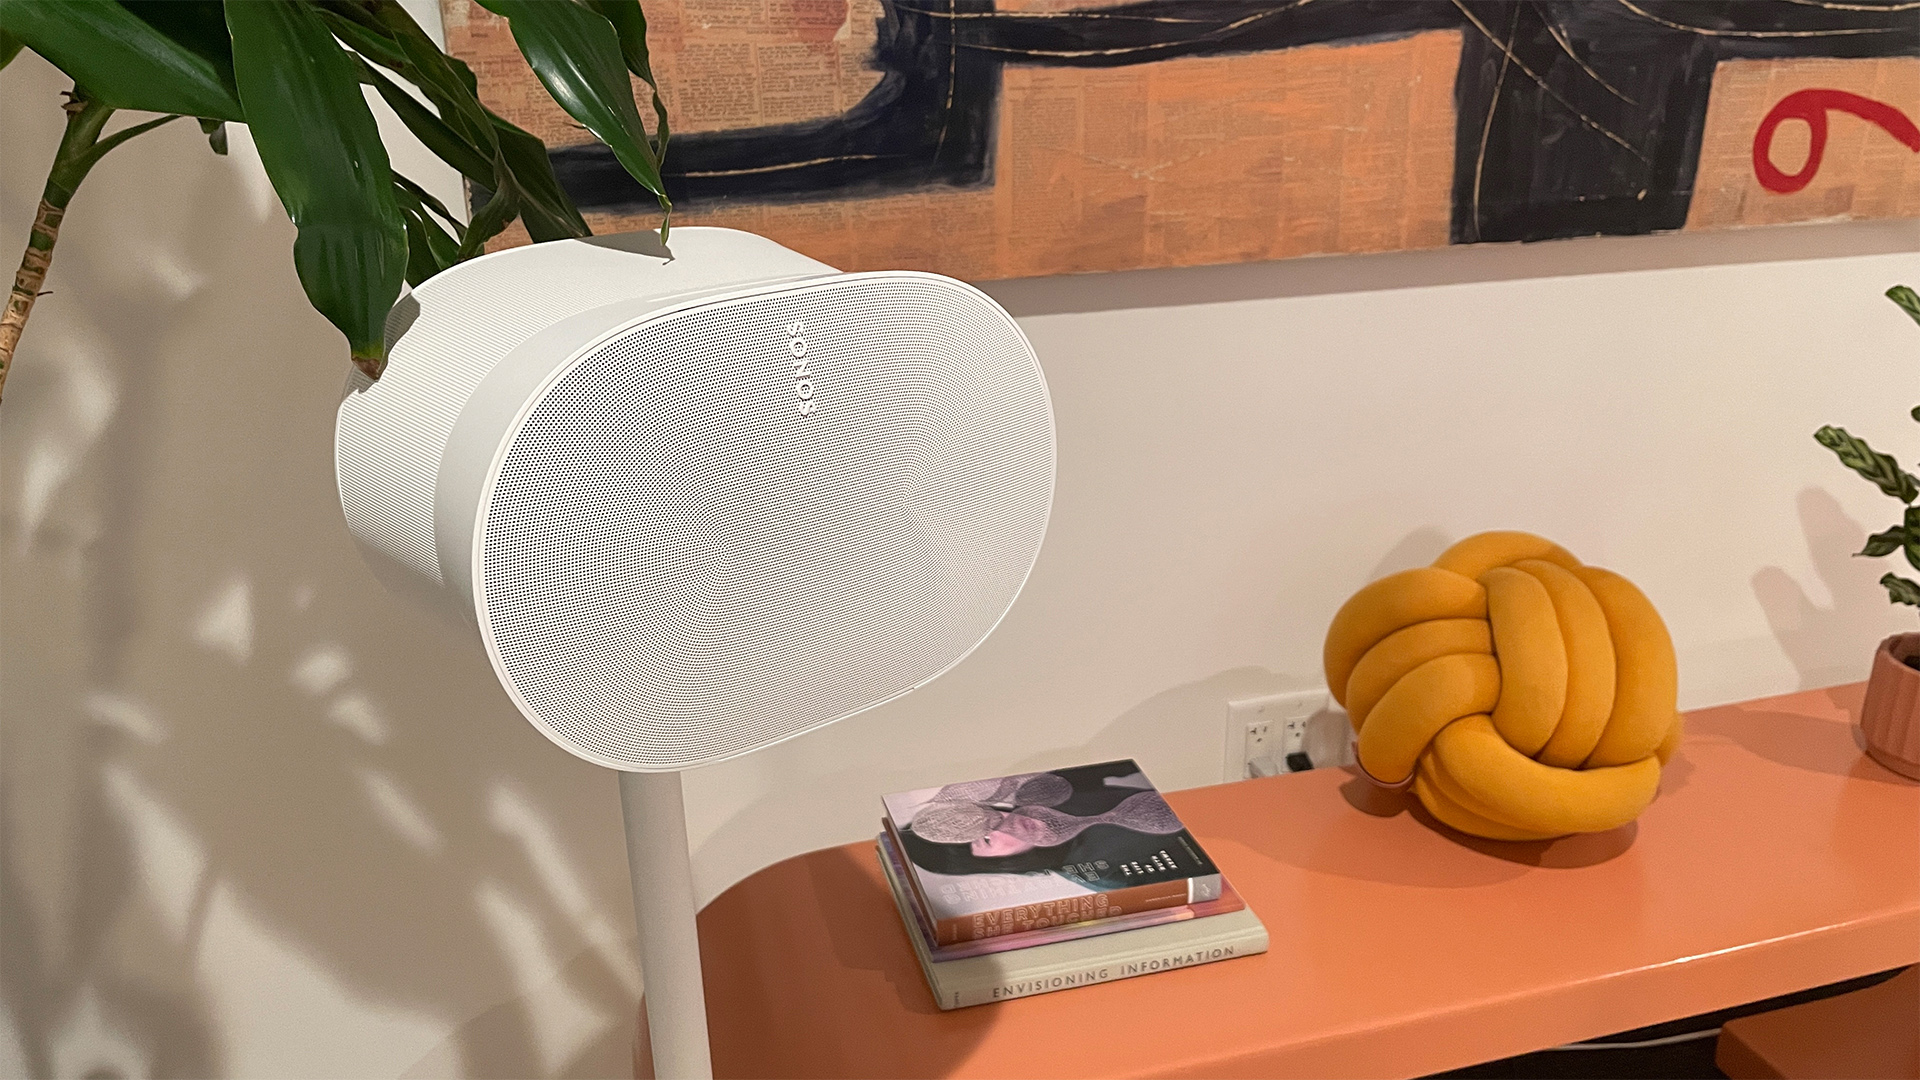
One of the best things about buying a Sonos soundbar is that you can add extra speakers in order to turn it into a full home cinema system.
Adding surround speakers is pretty much a no-brainer, assuming you have the money. There are lots of options, too, ranging from the fairly inexpensive and neatly disguised Ikea Symfonisk Bookshelf and Lamp speakers, to the Sonos One and new Era 100 and Era 300 speakers. If you want to go the whole hog, the Era 300 is the way to go, as it's the only model in the range that supports Dolby Atmos in its own right. Buying two of those is pretty expensive, though, and One and Era 100 speakers do a lot of the job for quite a lot less money.
You may also be tempted to add a subwoofer, of which Sonos produces two, but we don't feel that either is a particularly sensible partner for the Arc. The original Sonos Sub is very expensive and a bit of a blunt instrument performance-wise, while the Sub Mini isn't quite gutsy enough for the Arc (it's a better partner for the Beam Gen 2). If you're desperate for extra bass, the original Sub is the one to get, but we feel that the Arc is bassy enough for a soundbar and is better upgraded by surround speakers.
MORE:
Here's our full Sonos Arc review
These are the very best soundbars you can currently buy
And these are the latest and greatest soundbar deals
Tom Parsons has been writing about TV, AV and hi-fi products (not to mention plenty of other 'gadgets' and even cars) for over 15 years. He began his career as What Hi-Fi?'s Staff Writer and is now the TV and AV Editor. In between, he worked as Reviews Editor and then Deputy Editor at Stuff, and over the years has had his work featured in publications such as T3, The Telegraph and Louder. He's also appeared on BBC News, BBC World Service, BBC Radio 4 and Sky Swipe. In his spare time Tom is a runner and gamer.

