How to set up your subwoofer: our expert guide to room placement and controls

JL Audio Fathom
(Image credit: JL Audio)

A subwoofer is a very important weapon in an audiophile’s armoury in the pursuit of perfect sound. Despite what their specifications might say, and their manufacturers might claim, very few hi-fi loudspeakers – even the largest floor-standing models – can reproduce the deepest musical frequencies at appropriate volume levels.

To do this requires a properly-tuned subwoofer: one whose volume, crossover frequency and phase controls have been set in such a way that the subwoofer’s output integrates perfectly with that of the main stereo or front/main loudspeakers…wherein lies the problem. Very few people – even experts – are capable of doing this by ear and, until recently, the measuring equipment required to correctly tune a subwoofer was prohibitively expensive. Now, thanks to the processing power found inside any smartphone, it is possible to accurately calibrate a subwoofer with a smartphone running an AU$10 app and a low-cost CD with appropriate test tones.

But before you start your calibration, let's look at how to position the subwoofer correctly in your room. 

Positioning

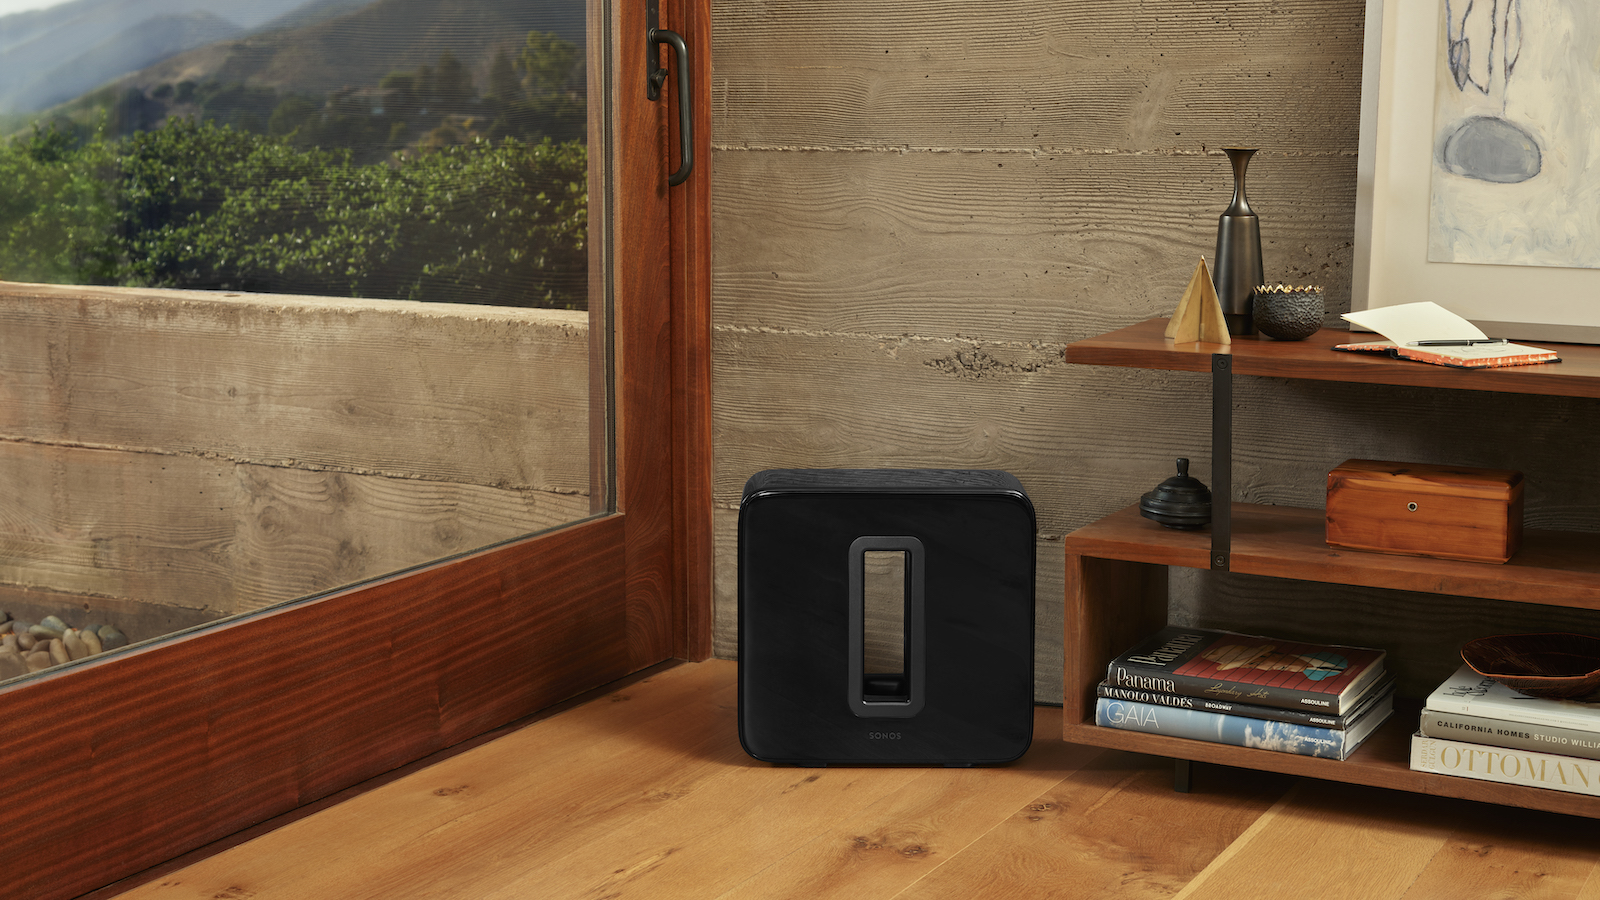
There is much nonsense published about positioning a subwoofer, the most egregious of which is the advice that you should not place one in a corner. This advice is wrong… very wrong, because sometimes a corner is one of the very best places you can put a subwoofer! However, you most definitely should not place full-range loudspeakers in corners (either the left or right channel speakers in a hi-fi system, or the front-left and front-right speakers if it's a multi-channel home theatre speaker system) unless that speaker has been specifically designed for corner-mounting (some full-range loudspeakers made by Klipsch and Allison were specifically designed for corner-mounting).

The best way to work out the ideal position for your subwoofer is to place the subwoofer where your head would normally be when you’re listening to music (and/or watching the screen). I appreciate this may mean some creative use of stacked milk crates and/or furniture items, and the temporary moving-aside of the seat or couch you would normally be sitting on, but it’s worth it.

Once the subwoofer is in place in this exact position, connect it to your system (you will need a long RCA–RCA lead, which you can either buy, or borrow from your friendly local audio store), after which you should start playing a music track with plenty of low bass. Turn up the volume of the subwoofer a little higher than normal, so you’ll be ready for the next step.

The next step is to start crawling around the floor (and no, I am not joking) with some white electrical tape in your hand. As you crawl around, you’ll hear the bass alternately get stronger and weaker… in fact at some points in the room the bass might be so weak that you will barely be able to hear it at all. Mark all the spots where the sound is strong by sticking some white tape to the carpet. Once you have covered the entire floor area, your carpet should be littered with bits of white tape.

If you only ever listen to your system yourself, you can now move the subwoofer anywhere there’s a bit of tape, and this will be the ideal position for the room and your listening position. Since you'll usually have a number of spots to choose from, choose the most convenient location, where the subwoofer will be the least conspicuous and the most out-of-the-way. Proximity to a power point would be another consideration. However, so long as the subwoofer is positioned over a bit of white tape, it will sound fine. However, if you regularly listen with another person, there is yet more to be done.

If someone usually listens to music with you – or watches movies with you – you will now have to physically move the subwoofer to where their head would usually be, and repeat the entire ‘crawling around the floor’ process, but this time it will go much faster, because you will only have to listen at the spots you have already taped. If the bass is still strong at a point, leave the tape on the floor. If the bass is now weak at this point, remove the tape.

When you’ve finished this second 'crawl around' process, this time around you will find that you can put the subwoofer anywhere there’s tape and be assured of getting good bass at the listening position. In theory, you could continue this process for each person who could potentially be listening, but the availability of 'good' places will narrow once you're past three people. DO NOT  try to 'compromise' by putting the subwoofer anywhere there is not a piece of white tape!
Further preparation

You should always position your subwoofer in the spot in your room in which it works best acoustically but, if you have already decided for other reasons to place your subwoofer elsewhere (such as where it looks the best), the following calibration procedure will still ensure its output integrates correctly with that of your main speakers.

However, before you start the calibration process, you will first need to acquire a suitable test CD, such as Stereophile Test CD2 (more details below), an iOS or Android smartphone and a suitable Real Time Analyser app (details below). Once you have these, and you have loaded the app onto your phone, you’re ready to go.

Whatever you do, DO NOT purchase one of the many free SPL meter apps that are available, or one of the (less readily available) free Real Time Analyser apps. All the free apps I tried had intrusive advertising and some will run up big data charges (or worse!) on your account even when they’re not being used. Bite the bullet and pay the AU$10!

Sourcing Stereophile Test CD2

(Image credit: Stereophile)

Stereophile’s Test CD2 is available for US$12.99 (plus postage) from Music Direct.

If you don’t live in the USA, postage will be a disproportionate part of the cost, so consider buying a few extra music CDs to amortize the cost. Alternatively, you can buy Test CD2 direct from Stereophile itself for US$9.99 (plus postage) or you can buy a set of all three Stereophile test discs (Test CD1, Test CD2 and Test CD3) as a bundle for US$24.

To purchase direct from Stereophile, details are HERE:

WARNING: If you are going to buy only one CD, you MUST buy Stereophile Test CD2, because the Stereophile’s most recent test CD (Stereophile Test CD3) DOES NOT have the pink noise test track you will need to complete the calibration successfully. 

There are some other test CDs available that have both a 100Hz low-frequency warble tone and a pink noise track, but Stereophile’s Test CD2 has the triple virtues of being
(a) the most comprehensive (b) the easiest to obtain and (c) slightly cheaper!

Sourcing a real time analyser app

Once, a Real Time Analyser would have set you back thousands of dollars, making its purchase completely impractical for the purpose of a single home subwoofer calibration. These days, thanks to the computing power inside a smartphone, you can buy an app that will turn your phone (or tablet) into a Real Time Analyser. The best RTA app for iOS devices (iPhone, iPad) comes from Studio Six Digital and is available in Apple’s App store for $19.99.

For Android, the best RTA app available costs AU$7.49 and is part of AudioTool available  HERE

The only problem with using these apps is that because they use your phone’s inbuilt microphone there is no guarantee that the microphone’s frequency response will be flat, so the measurements you make could be incorrect. However, the frequency responses of the microphones on the smartphones I experimented with when preparing this article were flat enough to allow accurate calibration. If you are particularly fussy, and want to use a calibrated microphone, both these apps allow you to use an external microphone. However, to be successful you’d need to use a good, calibrated, external microphone, for which purpose I’d recommend the Dayton imm-6, from Dayton Audio.

Anyone who is regularly installing and calibrating subwoofers should use a professional-standard portable RTA, such as NTI’s XL2 fitted with the M4260 microphone, information about which can be found HERE

Alignment procedure

Step 1: Position your phone at the listening position, at the point where your head would be. The location of the microphone isn’t really important – so long as it’s not blocked – so you should position the phone where you can easily see the screen and make adjustments to the measurement parameters (using the on-screen ‘soft’ keys). Once positioned, leave the phone in this same position for the duration of the calibration process.

Step 2: Set the RTA app on your phone to its SPL mode, then set the ‘Meter Response’ to ‘Medium’; and the ‘Weighting’ to either ‘Flat’ or ‘No Weighting’. (If the RTA app you’re using offers neither of these options, instead select ‘C-weighting’.)

Step 3: Disconnect the subwoofer from your amplifier or receiver and play the test CD through the main speakers using the 100Hz warble tone on Stereophile Test CD2 (Track 16, Index 4). While playing the warble tone, gradually increase the volume level on your amplifier/receiver until the SPL meter shows a figure of somewhere between 70dBSPL and 80dBSPL, depending on the level of the background noise in your room. (See following paragraphs.)

The sound pressure level (SPL) you use during calibration will depend on the level of background noise in your room, because you do not want environmental noise contaminating the measurements you make during the calibration procedure. To establish the correct dBSPL level you should use, shut all windows and doors to the room in which you will be making the measurements, and turn off any air-conditioning.

Using the SPL meter function, measure the background level of noise in your room. If it is less than 60dBSPL, use a calibration level of 70dBSPL. If the background level is more than 60dBSPL, you should increase the calibration level by 1dB for every dB above 60dBSPL, so if the background noise level is 63dBSPL, use a calibration level of 73dBSPL. If the background level is 68dBSPL, use a calibration level of 78dBSPL, and so on...

The actual level you end up using is not important, but you do need to make a note of it.

(Image credit: Future)

The above illustration shows the Android version of the Audio Tool RTA app [http://tinyurl.com/audiotool-app] running in its SPL mode on a Samsung GT-S7562 Smartphone, measuring a 100Hz warble tone (from Stereophile Test CD2, Track 16, Index 4) at 70dBSPL. (The end result of Step 3 of the calibration process.) You can see from the blue ‘soft’ keys that the averaging is set to ‘Off’, the mode is ‘SPL’, Meter Response is set to ‘Medium’ and that weighting is set to ‘Flat’. The two small tabs visible between the tabs that show ‘SPL’ and ‘Medium’ are for Peak Hold (On/Off) and Valley (On/Off). For this measurement, either button can be in either mode, as they don’t affect the measurement.

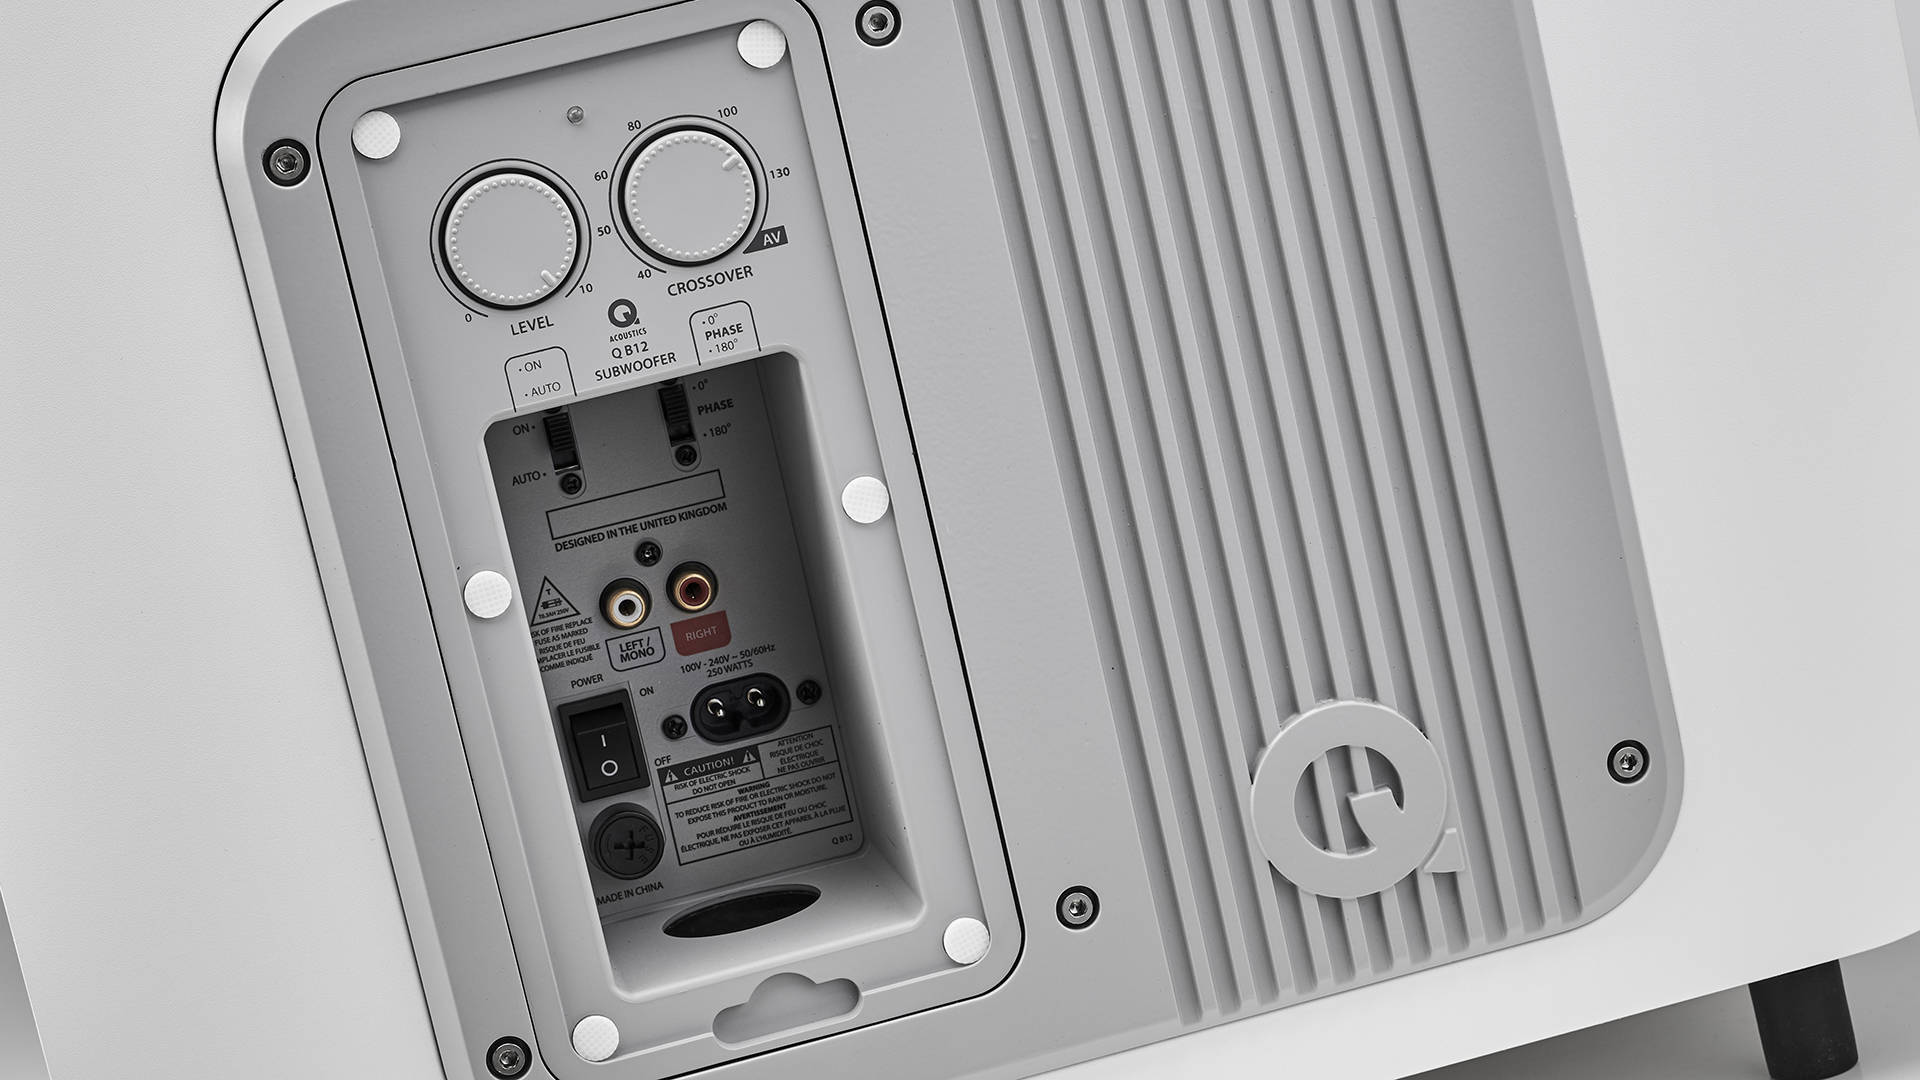
Step 4: Now turn the main speakers off using the ‘Speakers On/Off’ or Speakers A/B button or, if this is not possible, disconnect the speaker wires, and then reconnect the subwoofer, with the subwoofer’s volume knob set to zero, its phase control set to 0 degrees, and the subwoofer’s crossover control set at its highest possible frequency. Now play the 100Hz warble tone again, slowly increasing the level of the subwoofer’s volume control knob until the sound pressure level reading on your phone is the same as it was in Step 3. Leave the subwoofer’s volume control knob in this position.

Step 5: Now change the function of your smartphone app from ‘SPL’ to ‘RTA’, and apply the following settings.

  • Display Spectrum: 1/3rd Octave
  • Averaging: Off
  • Peak Response: Off
  • Speed: Medium
  • Weighting: Flat or None
  • Frequency Range: 20Hz to 200Hz

You will find you can alter the displayed frequency range on the screen by ‘pinching’ and 'unpinching' your fingers horizontally across the screen.

Step 6: Reconnect the main speakers! Now play Track 15 (Pink Noise at –20dBFS) on Stereophile Test CD2 and, while it’s playing, adjust the vertical resolution of the screen (by pinching or spreading your fingers) until each horizontal calibration is 6dB and all the vertical bars are on-screen. The overall indicated SPL level will not be the same as the one you noted in Step 3, but this is normal and does not matter. DO NOT adjust any volume controls to try to get the same SPL reading!

Step 7: Now, look at the third octave analyser spectrum on your phone to see whether all the vertical bars are relatively flat and smooth across the screen. (As in Photo 2 below.)

Don’t be concerned that all the vertical bars are dancing up and down a little. This is normal, and you should ignore it. Although the meter will be doing some averaging, you will also have to use your eyes to ‘average’ the vertical movements.  If the vertical bars at 31.5Hz and above are all fairly uniform in level (within ±3dB), you’re done: the maximum setting of the crossover control is the best setting for your subwoofer to cross over to your main speakers. If the response is not within ±3dB, go to Step 8. [Disregard the level of the left-most (25Hz) vertical bar, because this can’t be adjusted.]

(Image credit: Future)

The photo above shows the frequency response of the subwoofer/satellite speaker combination after calibration using the method described. The resultant frequency response extends from 25Hz to 200Hz ±3dB, which you can see because all the third-octave bars are between the 54dBSPL and 60dBSPL calibrations (scale is at left of screen). The response is slightly ‘high’ for the three third-octave bands above 63Hz (the actual centre-frequencies are 80Hz, 100Hz, and 125Hz). Some extra tweaking could have reduced the level here by a dB or so, but I preferred the sound of the slight forwardness in this region, and also wanted to show that you don’t need to achieve absolute flatness. Getting all the third-octave bars within ±3dB in a normal acoustically untreated room is a good outcome.

Step 8: While watching the RTA spectrum display, slowly move the subwoofer’s crossover control counter-clockwise from its maximum position until you get the flattest response possible. If the response is relatively flat, you’re done: this setting of the crossover control is the best setting for your subwoofer to cross over to your main speakers. If you can’t achieve a relatively flat response, go to Step 9.

Step 9: Adjust the subwoofer’s crossover control to where the response was the most flat, and then slowly adjust the phase control while looking at the RTA spectrum. As you adjust the phase control you should see the levels of the various vertical bars change. After you’ve tried ALL settings of the phase control, move it back to the position that gave you the flattest response and leave it there: you’re done. You have correctly set your subwoofer’s volume and phase controls to positions that allow your subwoofer’s output to best-integrate with the output of your front left and right loudspeakers.

Step 10: If you are unhappy with the flatness of the response after you have completed Step 9, return the phase control to its 0° position, then adjust the subwoofer’s crossover control to the position that gave the second-flattest response, and do Step 9 all over again. If you’re still unhappy, adjust the subwoofer’s crossover control to the position that gave the third-flattest response, and do Step 9 all over again. If you’re still unhappy, continue this iteration procedure until you are happy. However, whatever you do, DO NOT alter the position of either your subwoofer’s volume control or the volume of your amplifier/receiver to try to ‘fix’ the response. You will only end up wrecking all the work you’ve done. You must ONLY adjust the crossover and phase controls on the subwoofer.

Step 11:  Now that you’ve finished, play a track with deep bass (Track 1 of Pink Floyd’s Dark Side of the Moon should do) to hear the balance of the subwoofer with your speakers. DO NOT attempt to adjust the level of the subwoofer to increase the level of deep bass. Most music contains deep bass only at very low levels, so it should be reproduced at those same very low levels. Movie sound effects contain more deep bass than most music tracks, but you should still resist the temptation to increase the level of bass issuing from your subwoofer: The rule-of-thumb is that if the deep bass sounds obvious, the subwoofer’s volume level has been set too high.

greg borrowman